 Close
Close
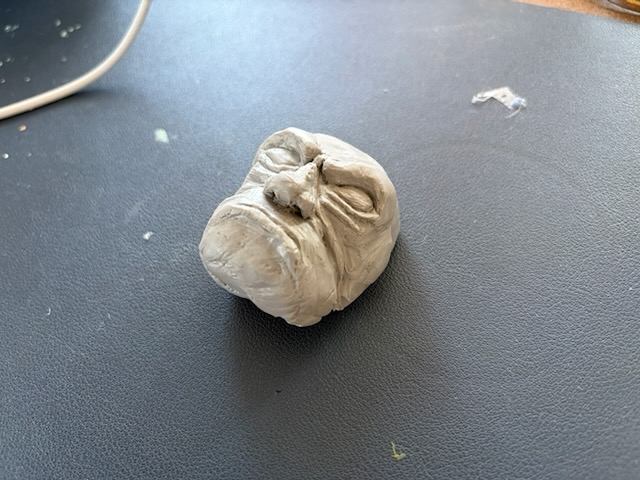
With the armature and foam body complete, I moved on to creating the Buggane’s head, hands and feet. I initially attempted to sculpt the face using Super Sculpey and my concept image as a reference.
I quickly realised that I could not achieve the consistent, stylised finish I wanted within the available time. With further practice, I think the clay approach could have worked, but I needed to explore a different method for this proof-of-concept build.
I began experimenting with Nomad Sculpt on my iPad. The combination of the Apple Pencil and digital-clay tools gave me more control than my early physical sculpt, but the software still had a substantial learning curve. Creating the complete character directly in Nomad would have taken more time than I had available.
I already owned a resin printer through my previous experience of producing miniatures for Dungeons & Dragons. I knew that it could reproduce small surface details, but I still needed a suitable 3D model from which to work.
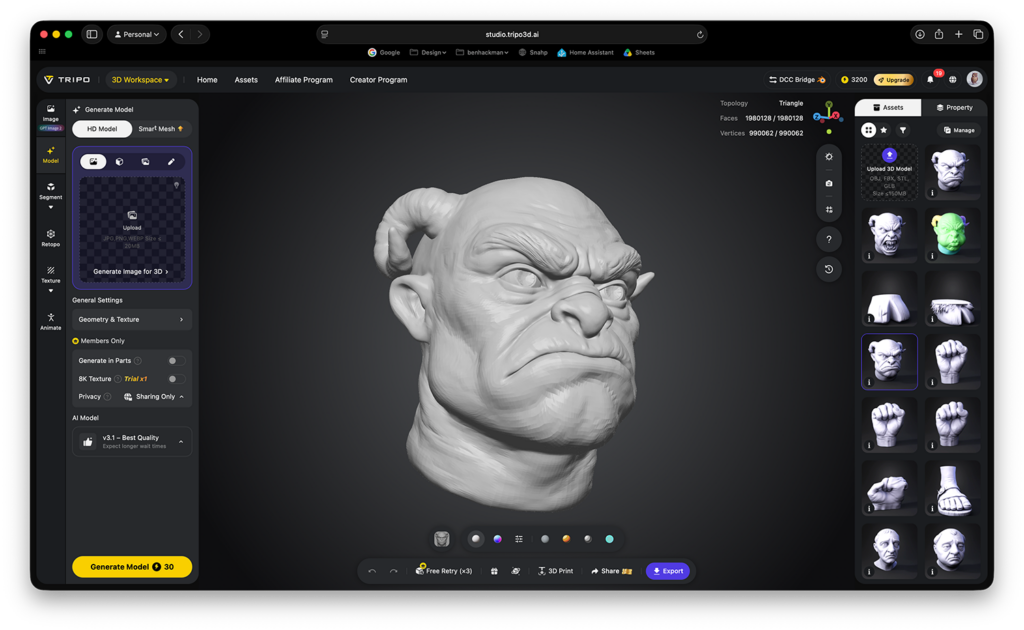
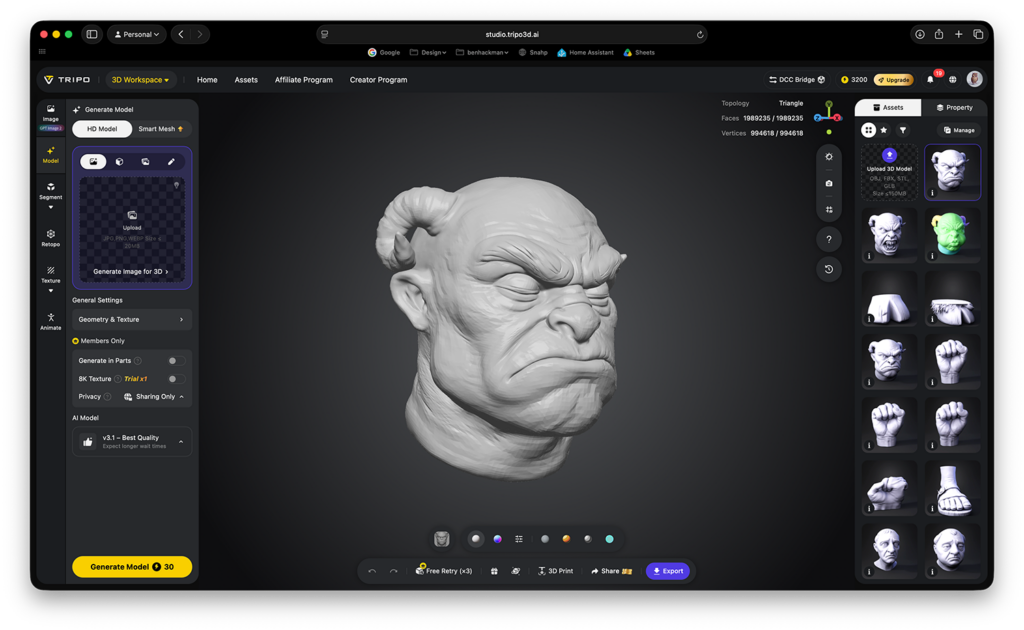
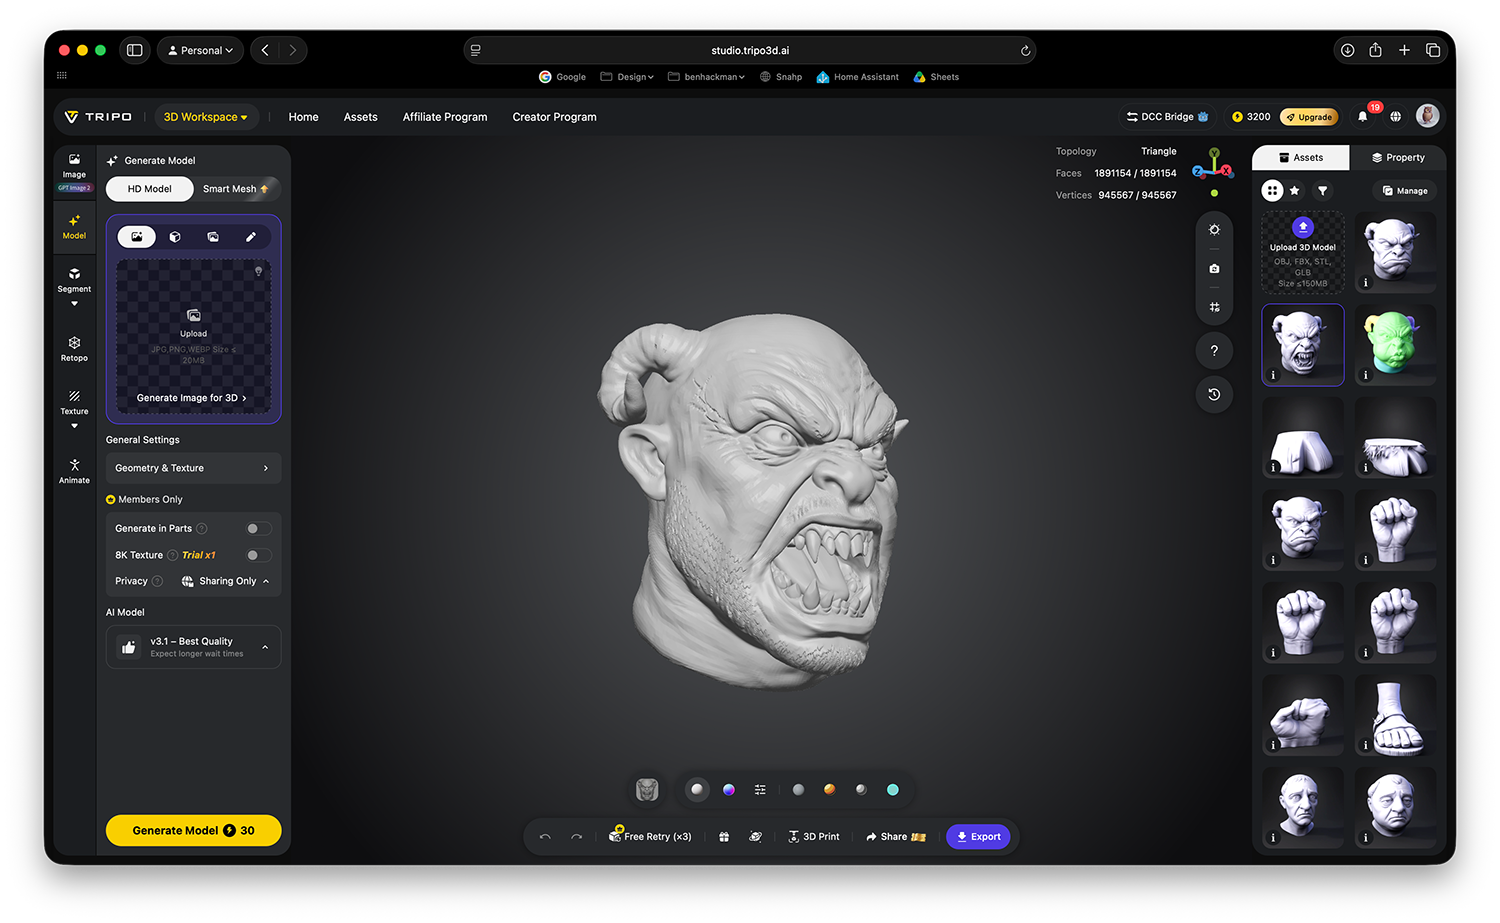
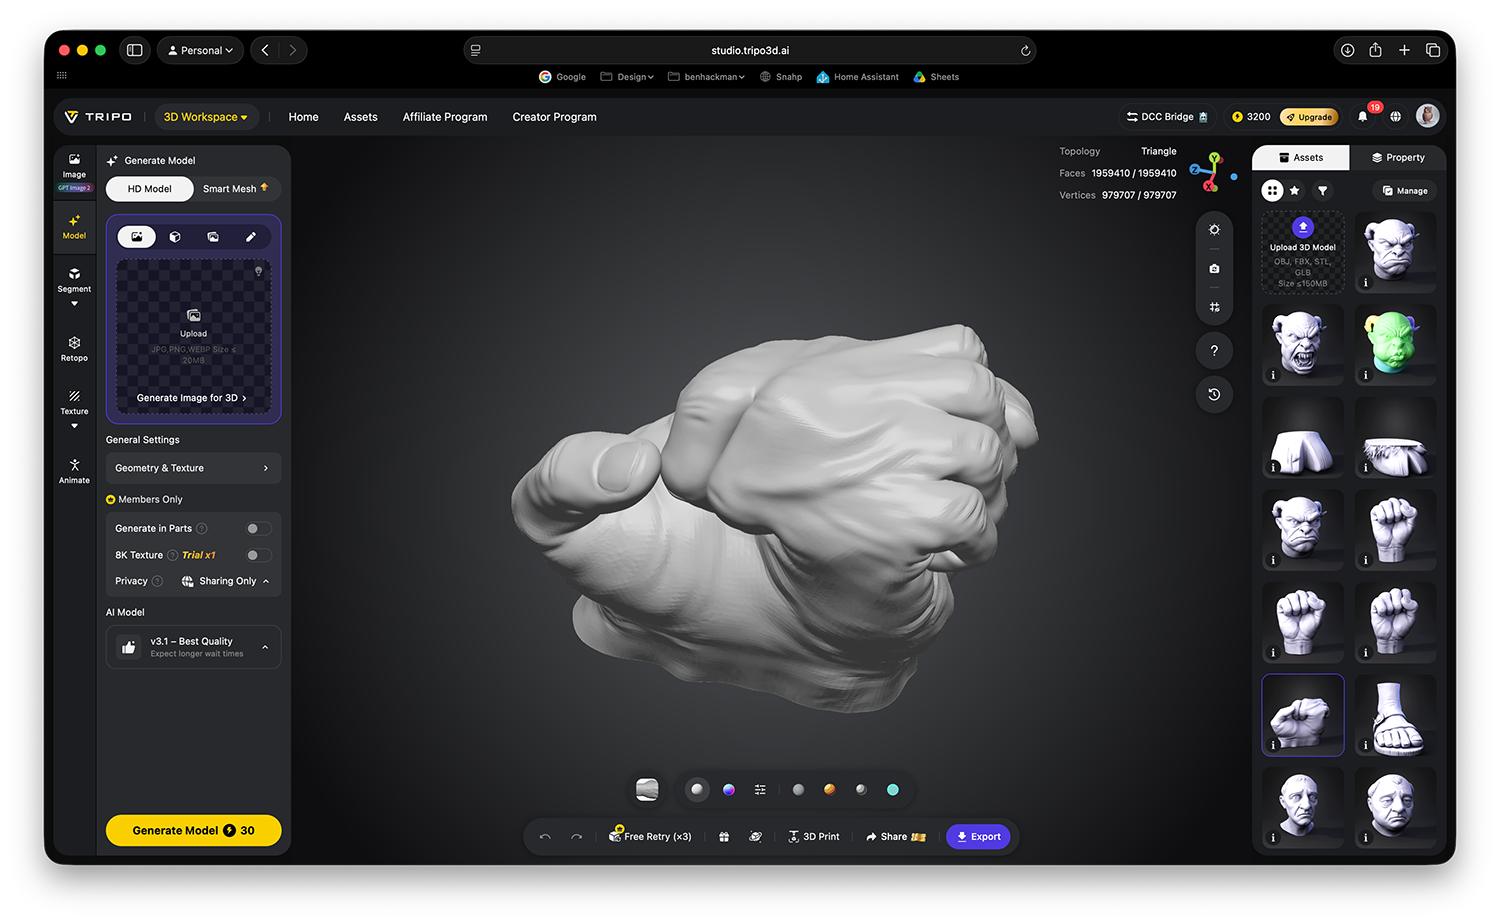
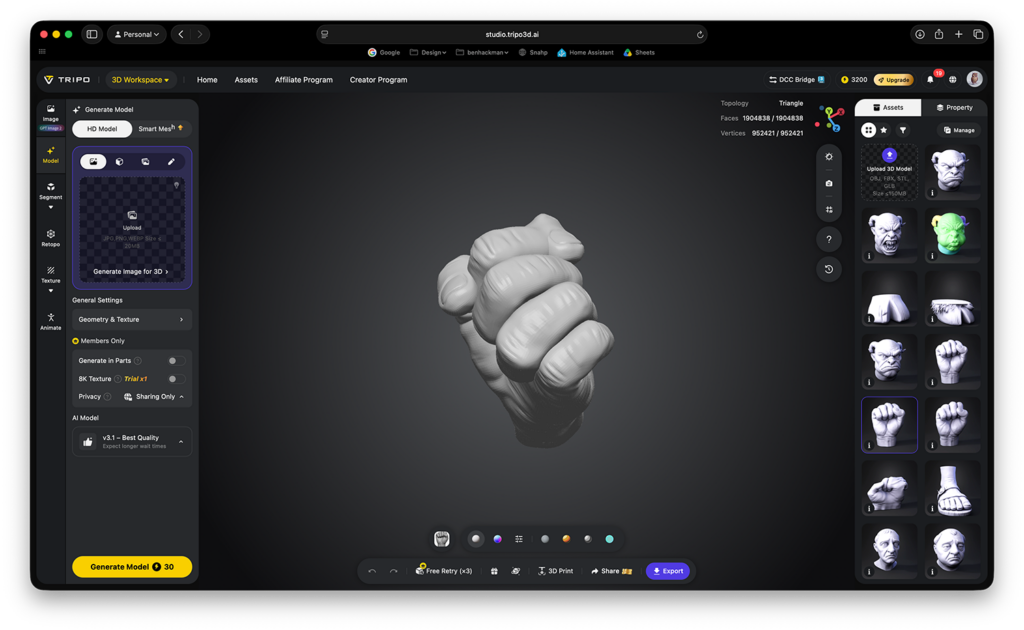
I therefore tested Tripo AI as a base-model generation tool. Tripo could turn reference images into a rough three-dimensional mesh, but the resulting model was not treated as a finished design. It still needed to be selected, scaled, corrected and prepared manually before it could be printed.
Using AI was a practical response to my timescale and current sculpting ability, rather than my preferred complete method. Gemini and Tripo generated starting material, while the later modelling, correction, printing, painting and physical assembly remained essential parts of the process.
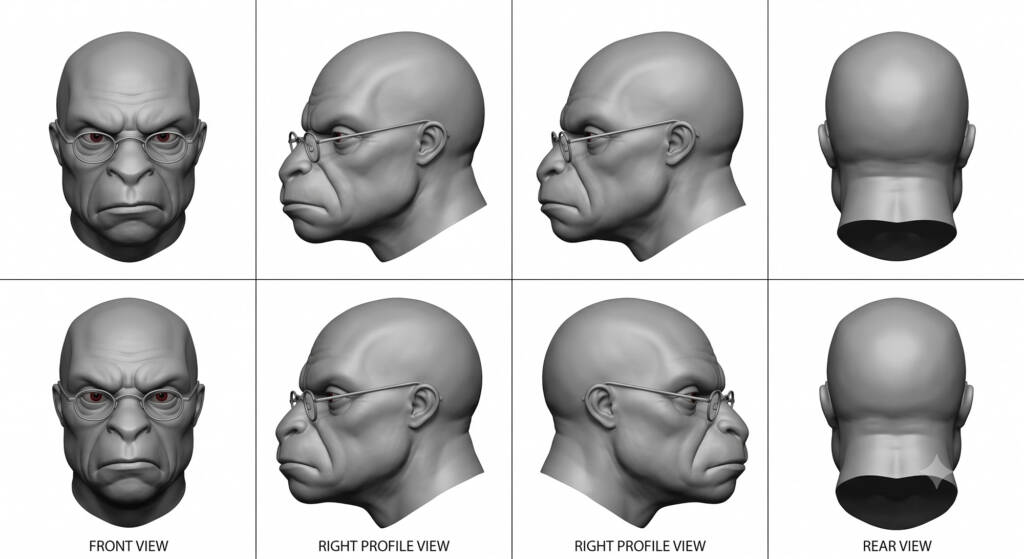
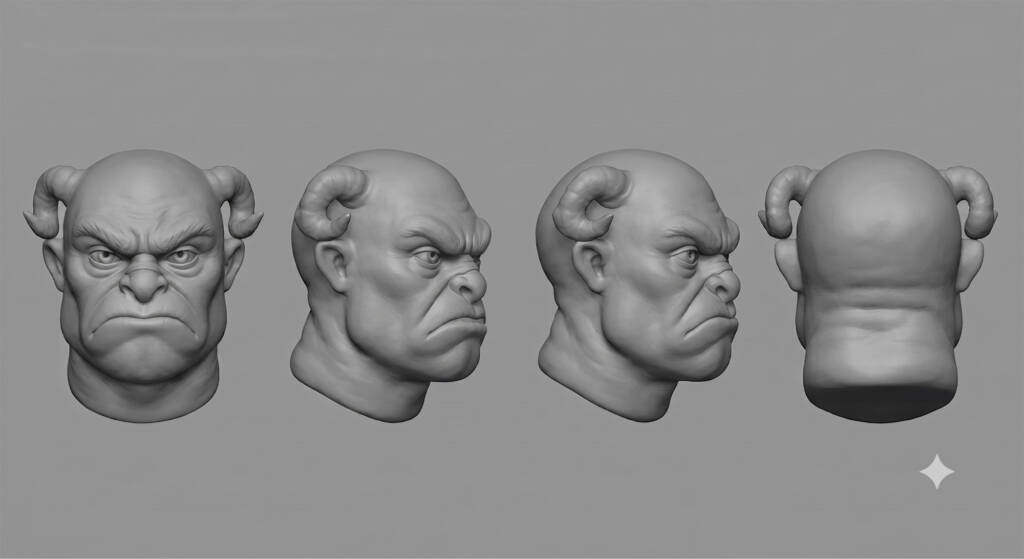
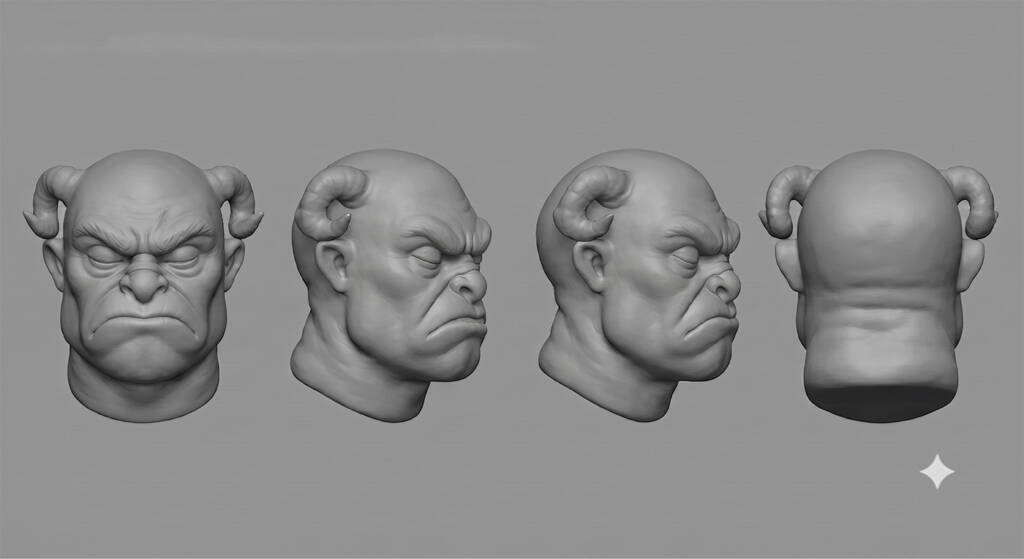
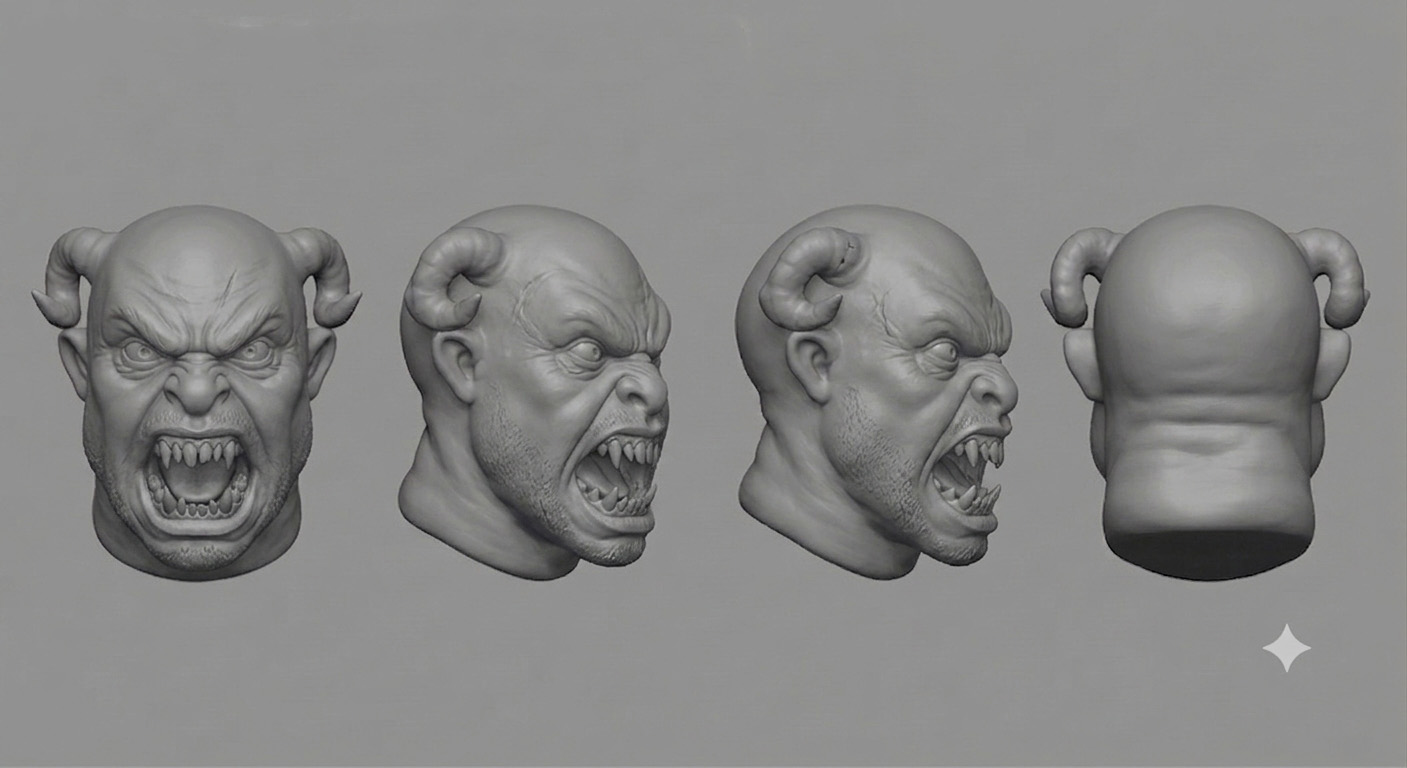
I returned to Google Gemini and used my selected concept image to generate a neutral turnaround reference of the Buggane’s head. I needed front, side and rear views without hair, colour or accessories so that Tripo AI could interpret the form more clearly.
The first results changed the character too much and included details such as glasses. If these had remained in the reference, they could have become fixed parts of the generated mesh. I therefore refined the prompts and removed the unwanted accessories.
The final reference was much cleaner and provided a workable front, side and rear view. I then used this image as the input for the initial Tripo AI model.
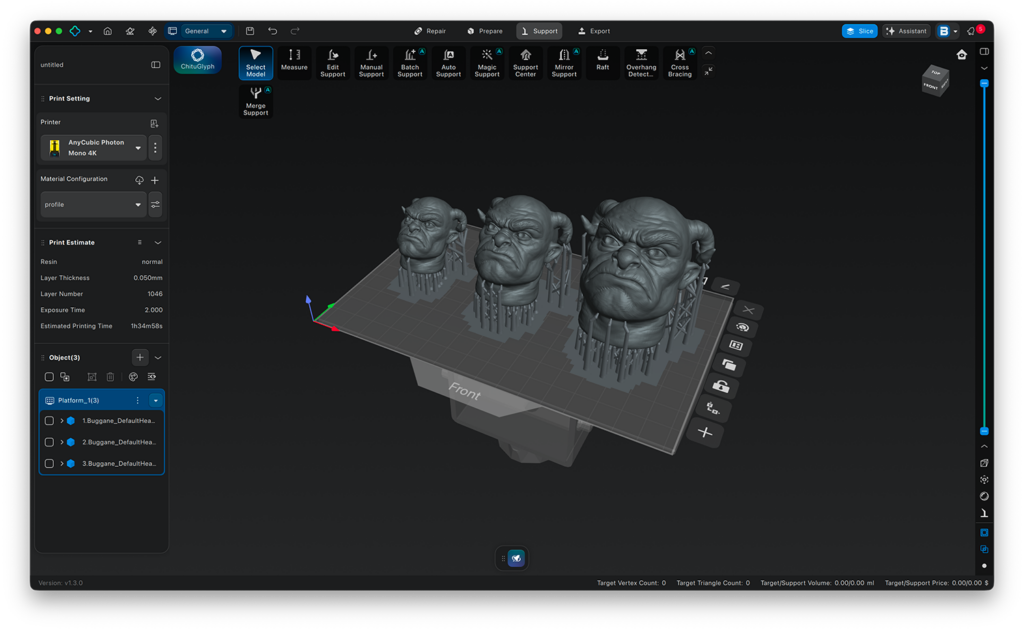
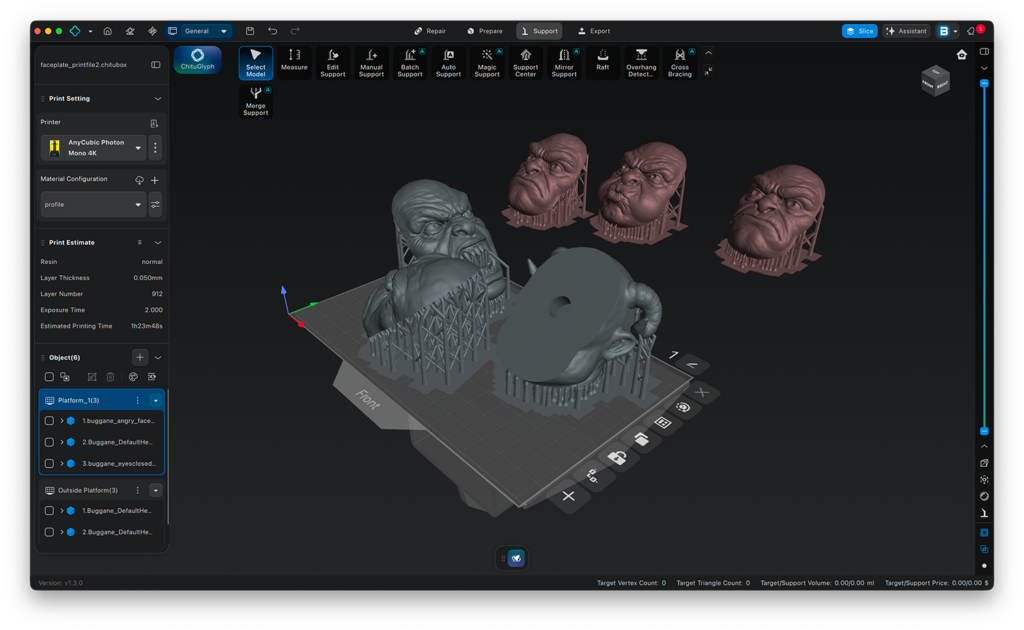
I imported the model into Chitubox, where I could scale it, arrange the supports and prepare it for resin printing. The printer builds the object by curing a series of very thin resin layers.
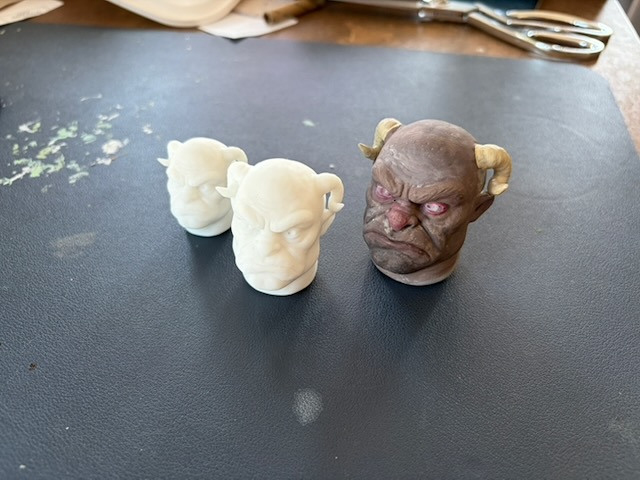
Although the digital measurements provided a starting point, I wanted to judge the head directly against the handmade armature. I therefore printed three different sizes and physically compared them with the body before selecting the most suitable version.
*Update* You can see a timelapse video below of the resin printer process, going slice by slice until the model is complete. Please note this video is from a later week in which I printed head models for the monks which will be detailed in a future blog post.
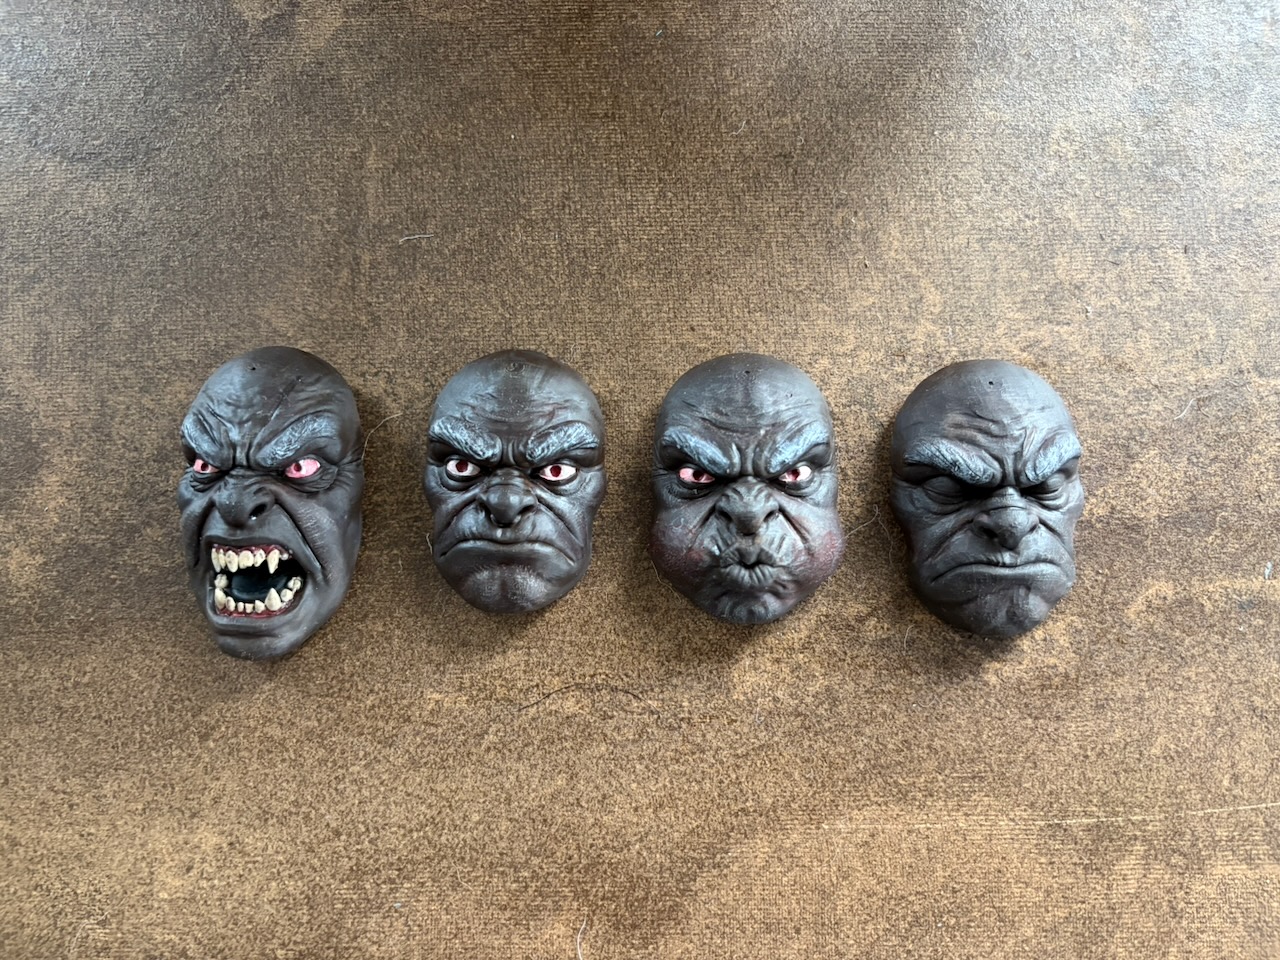
Once I had selected the head size, I began developing the interchangeable expressions. Printing a complete head for every expression would have used more resin than necessary, so I returned to my original idea of magnetic faceplates.
This approach provided a practical range of expressions for the proof of concept, although it would be much more limited than the replacement systems used within professional stop-motion productions.
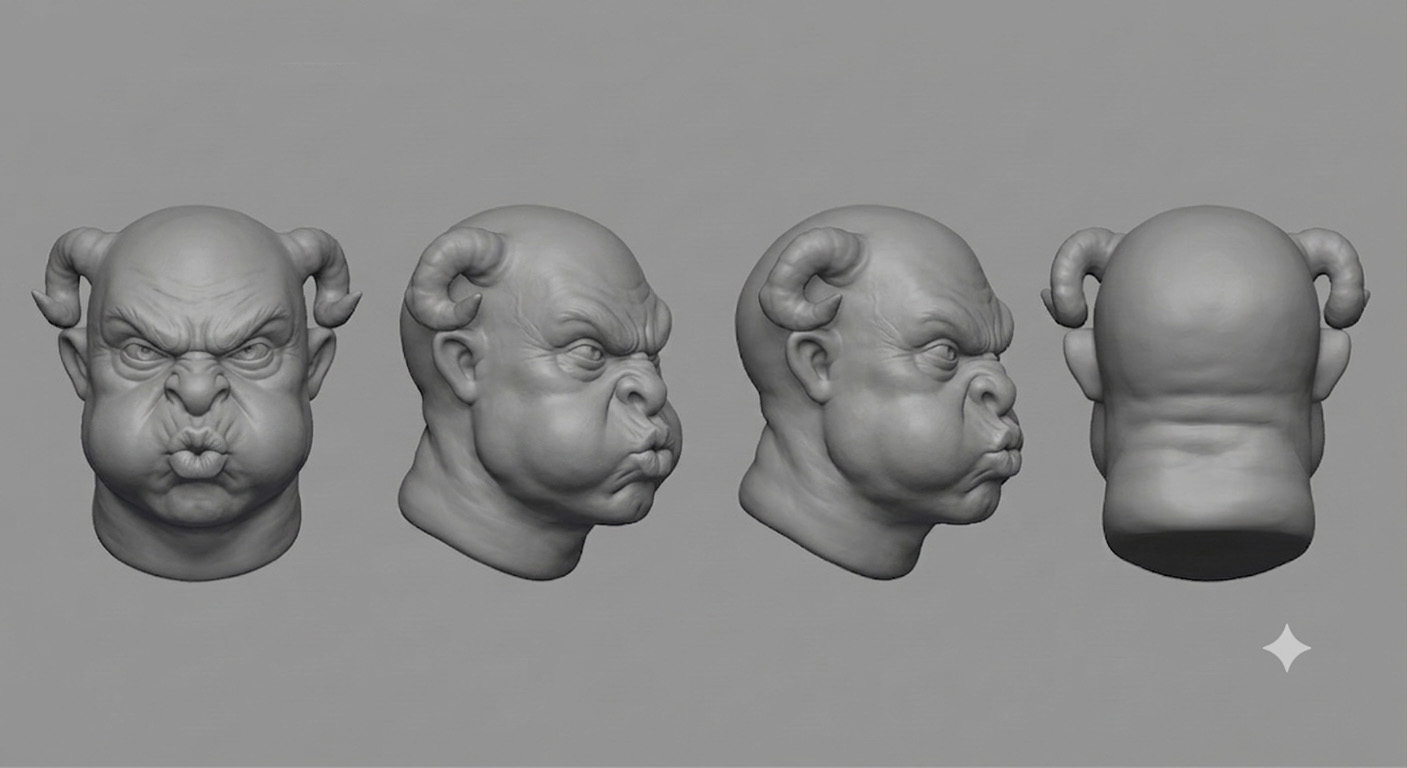
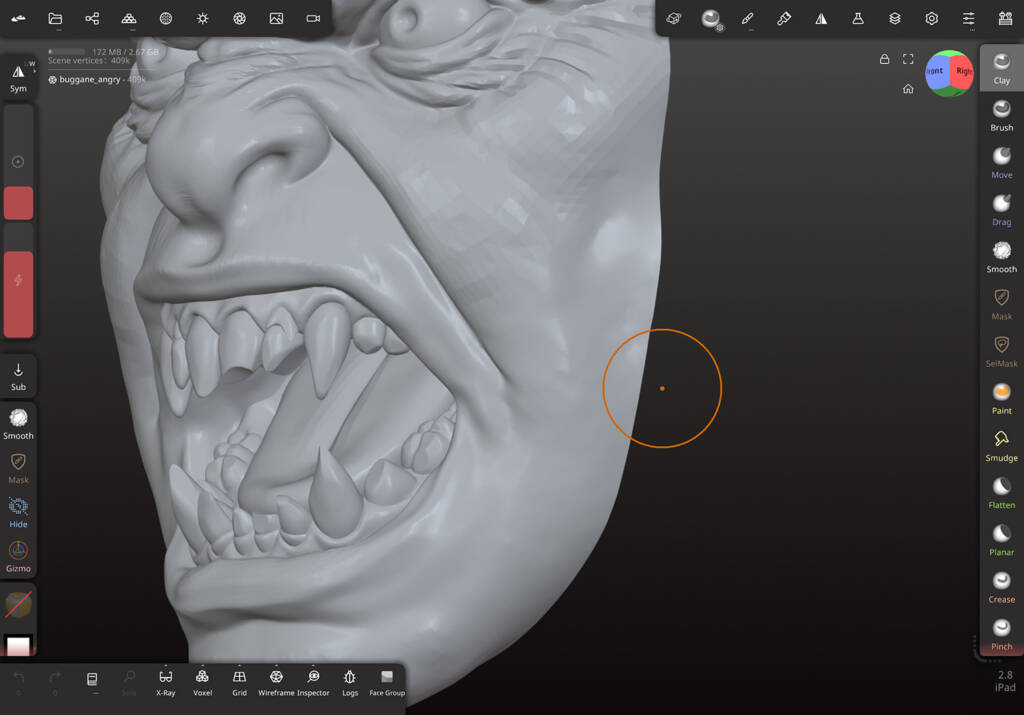
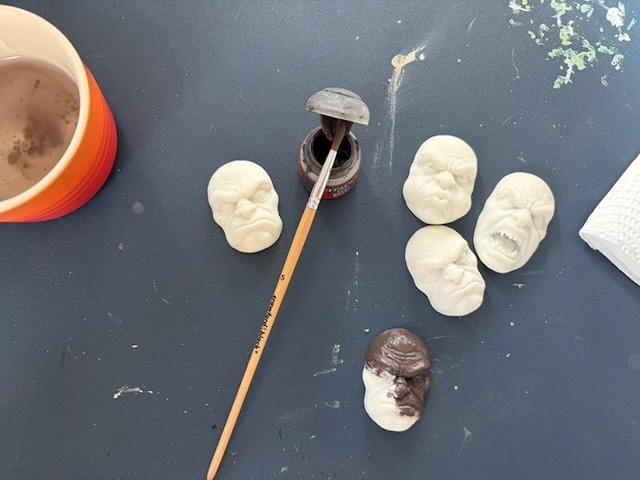
I used Gemini to generate four facial-expression references while attempting to retain the same underlying character. The results still contained inconsistencies. The angry expression, for example, included unwanted stubble and scarring.
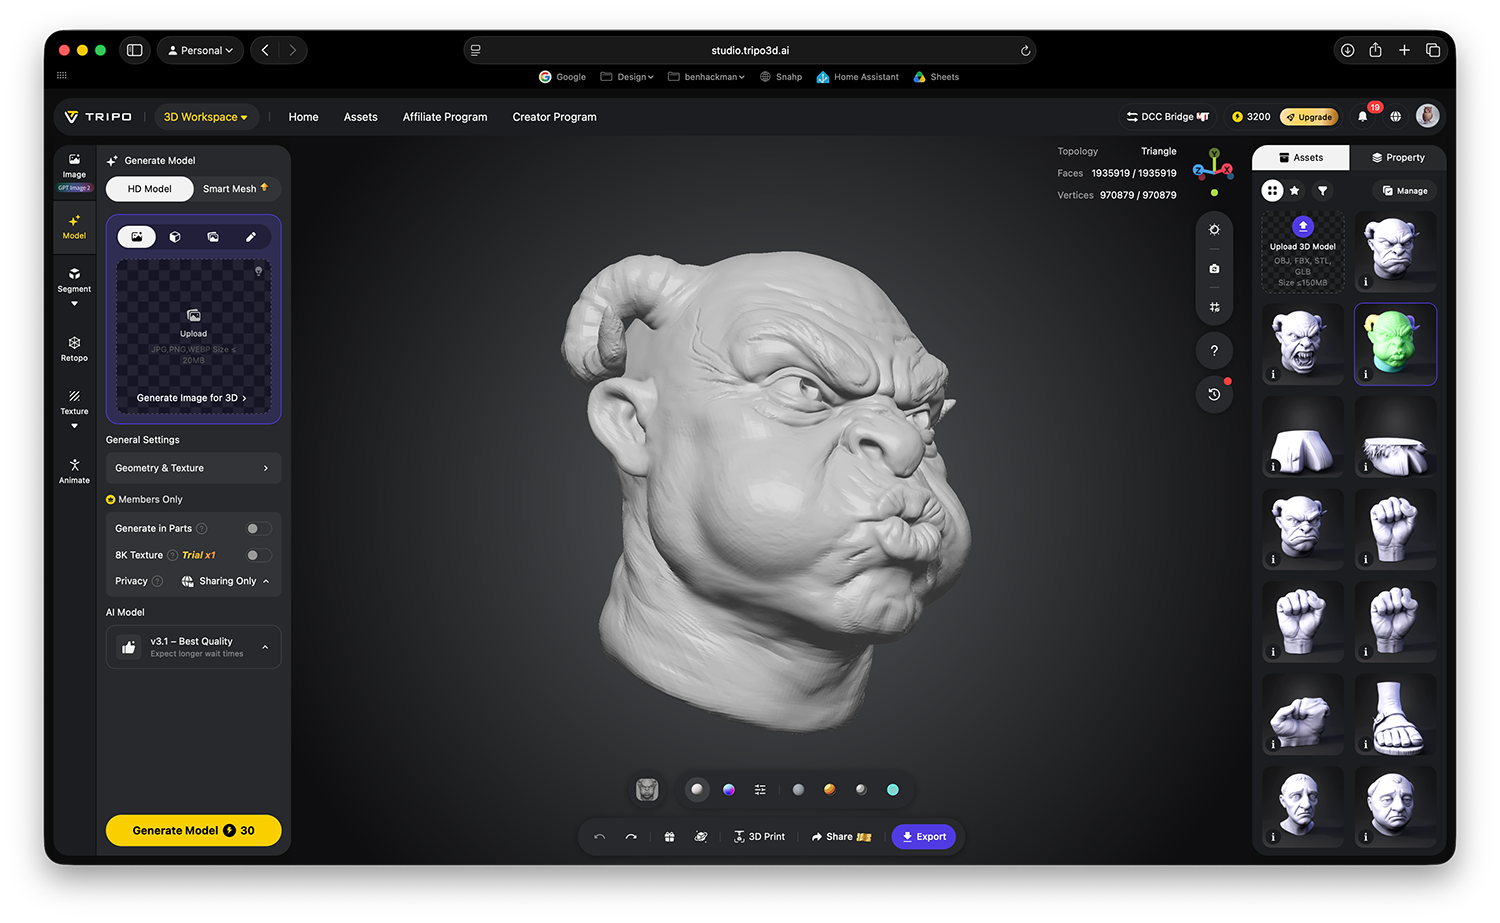
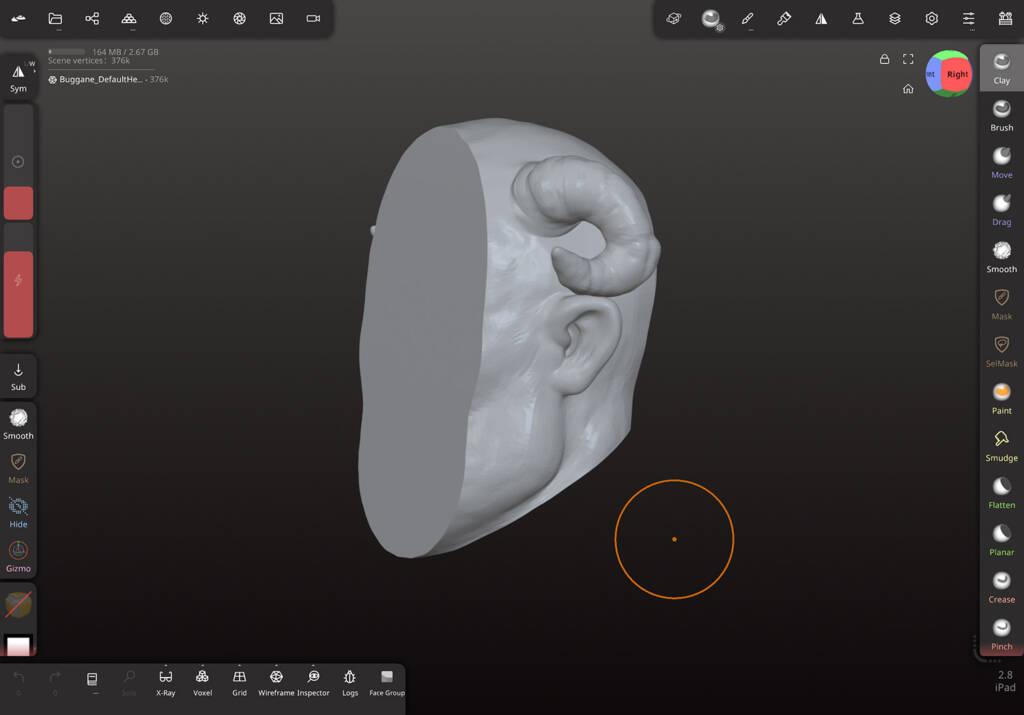
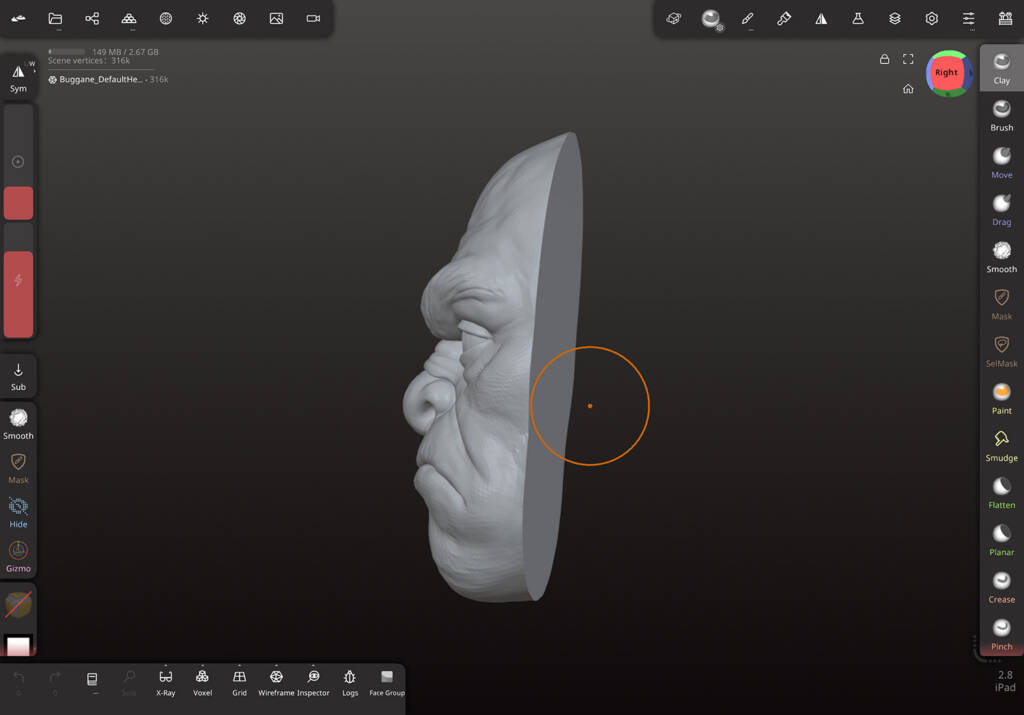
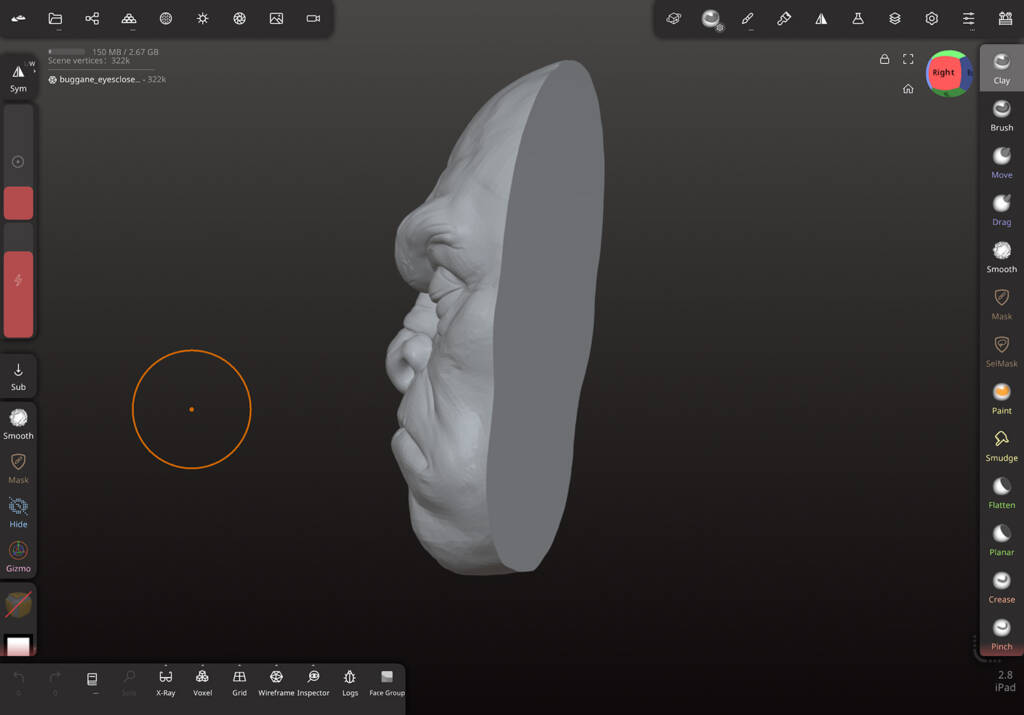
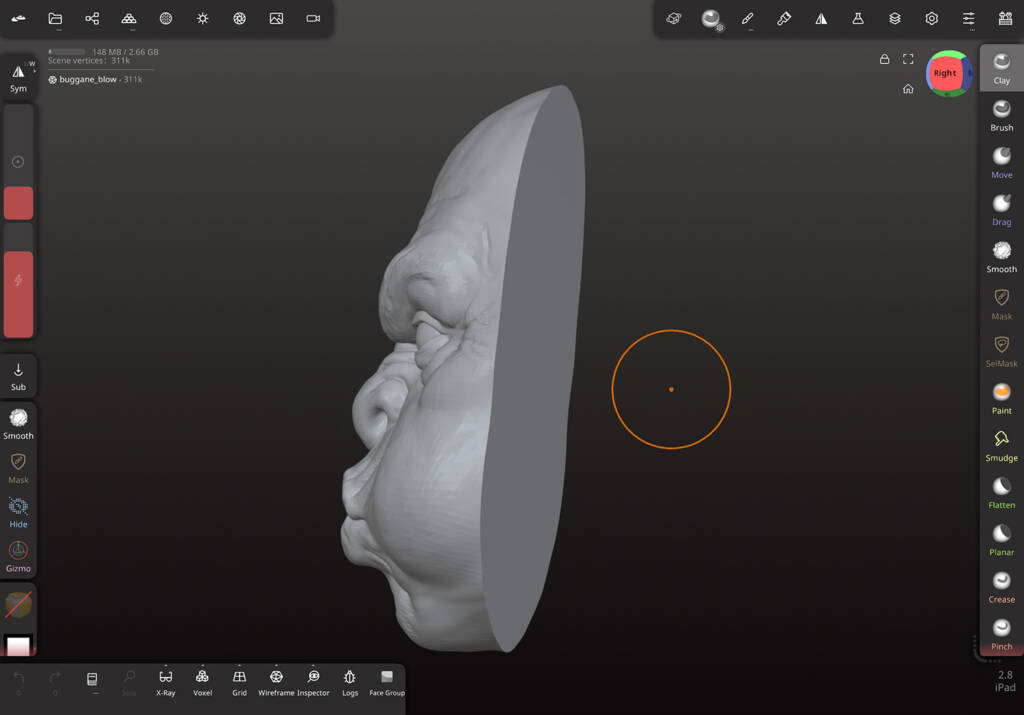
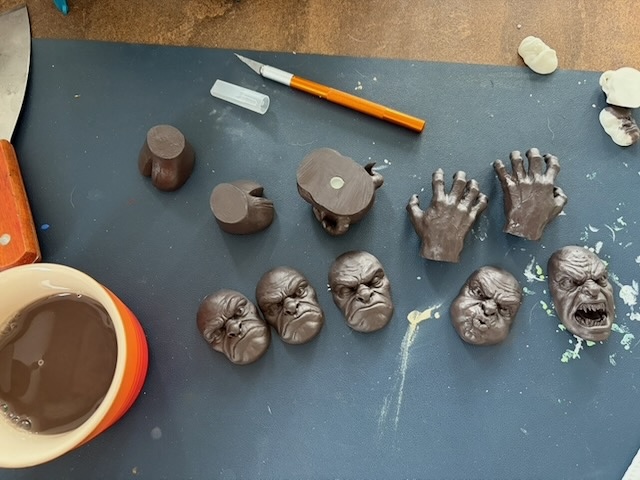
I passed the selected references into Tripo AI and then opened the resulting models in Nomad Sculpt. I manually removed the unwanted surface details and separated the front of each face from the main head, creating four faceplates with a consistent join.
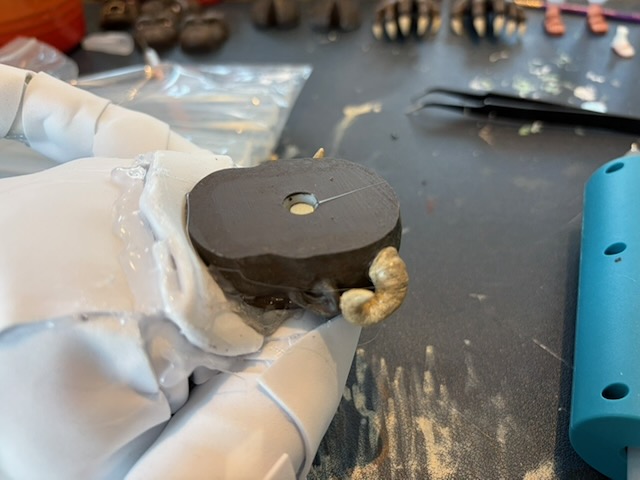
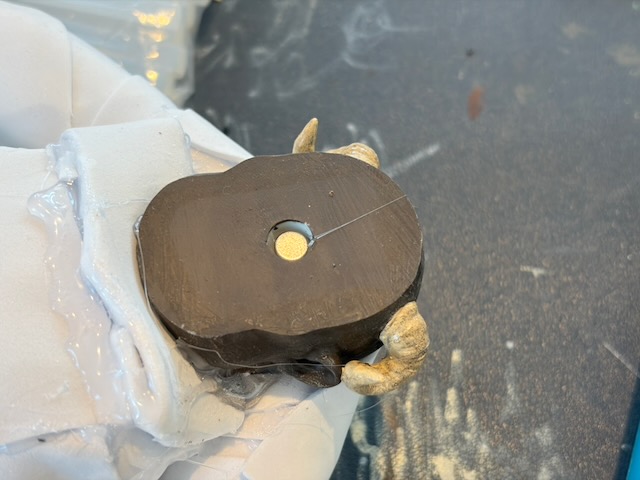
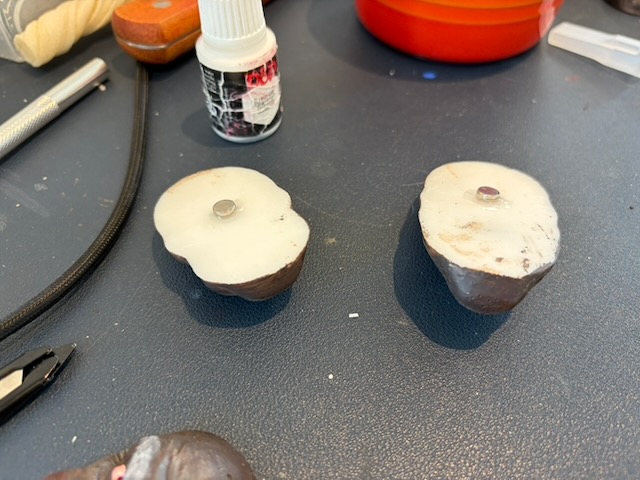
I prepared the components in Chitubox and created spaces for small neodymium magnets inside the head and faceplates. After printing, washing and curing the resin, I fitted the magnets so that the expressions could be changed while the main head remained permanently attached to the puppet.
The system works as a proof of concept, but it leaves a visible seam around each faceplate. Some productions, including Henry Selick’s Wendell & Wild (2022), retain visible face seams as part of the stop-motion aesthetic, while others remove them during post-production. I originally planned to assess the seam through motion and camera tests, but these were not completed. Its appearance on screen therefore remains untested.
I also attempted to sculpt the Buggane’s hands using clay, but I could not achieve the finish or consistency required. My attempts to generate human hands for the monks through the AI workflow also produced tangled and deformed geometry.
Rather than claiming that AI models are universally unable to create hands, this showed that my particular workflow and reference images were not producing components that I could use.
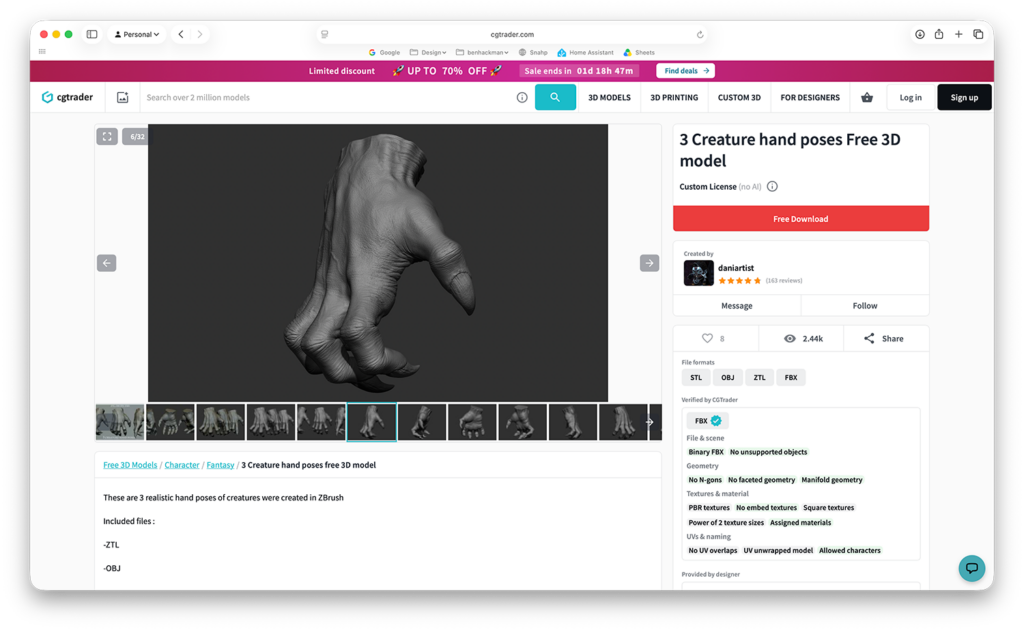
I searched online 3D-model repositories and found a downloadable monster-hand model that broadly matched the Buggane’s design.
https://www.cgtrader.com/free-3d-models/character/fantasy-character/3-creature-hand-poses
The downloaded design had four fingers and a thumb rather than the three fingers and thumb shown in my original concept. I accepted this as a reasonable compromise for the proof-of-concept puppet.
The download contained three poses, but they were all fairly similar and none provided the more specific gripping or fist shapes that animation would require. I selected one version, mirrored it to create left and right hands, and prepared both components in Chitubox.
The restricted hand poses would be a significant limitation in full animation. A production version would require a wider set of interchangeable hands designed around the actions in the storyboard.
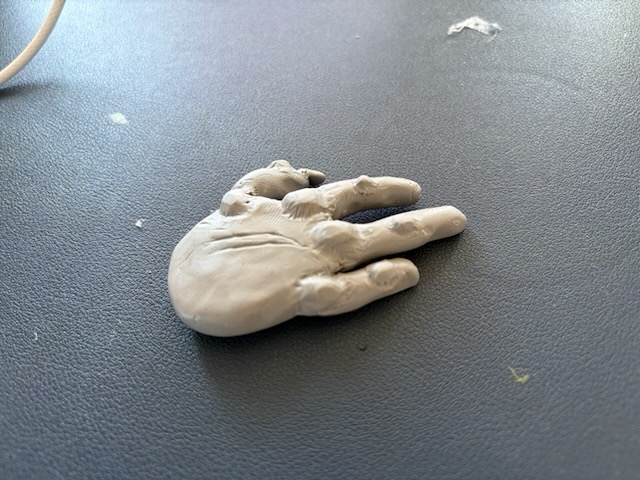
Once the hands had been printed, I returned to the feet. I wanted to retain some direct clay modelling within the final workflow, so I sculpted the basic form of a cloven hoof by hand.
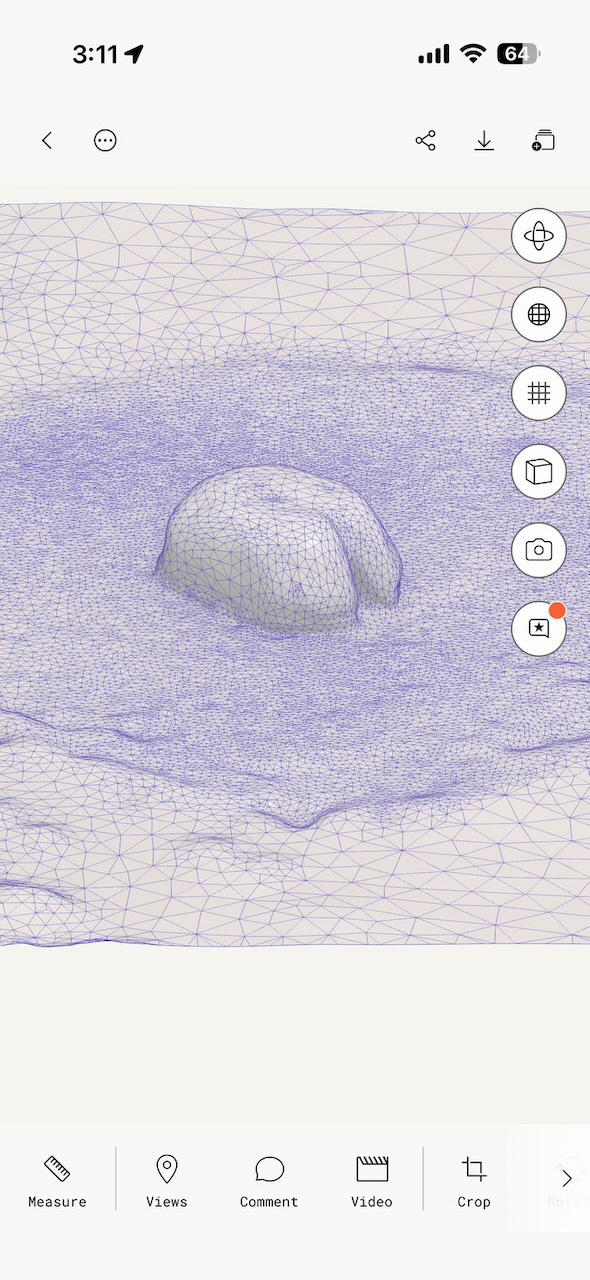
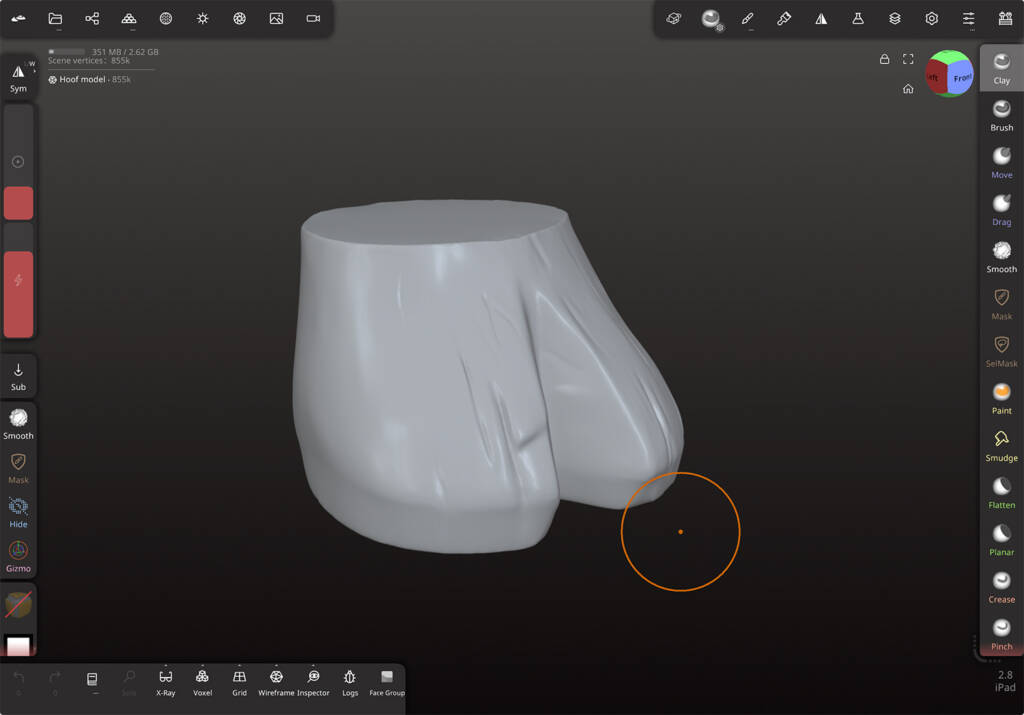
The clay surface was still rough, but it provided a usable starting form. I scanned the hoof using PolyCam on my iPhone and imported the resulting mesh into Nomad Sculpt. I then cleaned the surface, refined the shape, carved the hoof details and flattened the top so that it could be attached to the puppet.
Although the digital version changed considerably from the original clay sculpt, the final component still began with a form I had physically made. This became a useful compromise between handmade sculpting and digital precision.
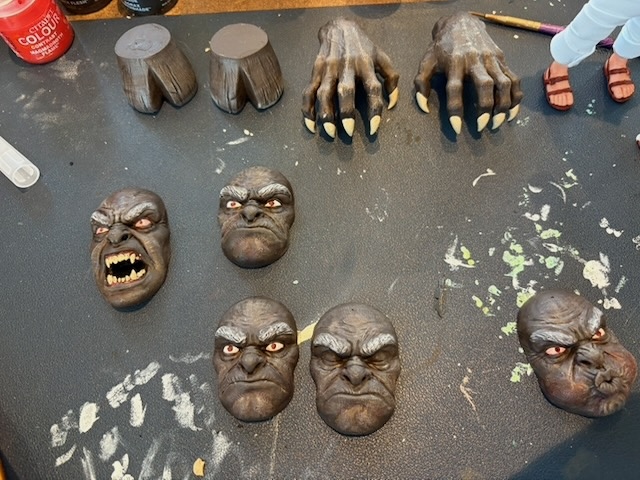
Once everything was printed for the Buggane Puppet, it came time to painting everything, I wanted to paint everything all together to keep a consistent colour and highlight feature across all the body parts, if I painted things separately I would risk using a slightly different mixture of colours for one part which would make the parts appear different on camera to each other, even if the difference is only slight. Using model paints I already owned, I found a base colour to paint all the parts with first.
Once the parts were primed with the base colour, I used lighter mixes and lighter colours to paint on the highlight colours, using techniques such as dry brushing and wipe on and wipe off to create a consistent paint scheme throughout the different parts and pieces. The most difficult part was the eyes, needing a very tiny brush to get the detail in the white of the eye, then adding the pupil, finally adding a slight red colour wash, made from a small amount of pigment diluted with water to add a slight redness to the Buggane’s eyes, increasing the intensity of this in both the anger and the blowing face to give them the appearance of effort or strain in the face. Overall I think these pieces came out very well.
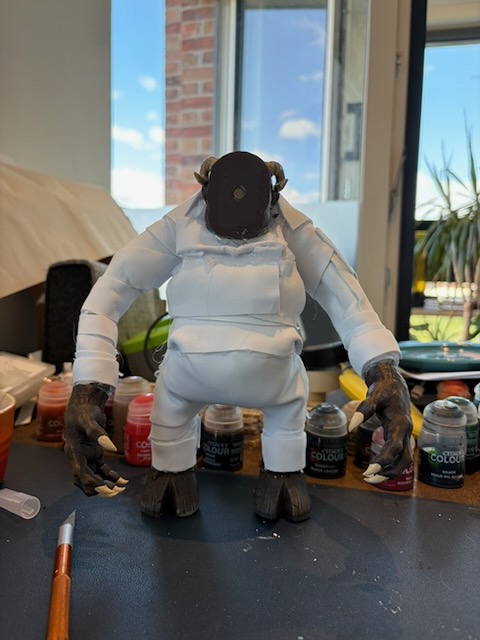
The Final task was attach the head, feet and hands to the rest of the puppet and glue in magnets, these would be added into the drill hole of the head, to the back of each of the faceplates and to the join between the hands and arms.
Once assembled, the puppet was proportioned well enough to stand without external support. This demonstrated its static balance, although it should not be treated as evidence that the armature would remain stable throughout animation because formal motion tests were not completed.
Note: The first printed hands appeared too large once attached to the body. I therefore reprinted them at a smaller scale. The final presentation will show the corrected versions.
Once the printed components had been painted and attached, I moved on to applying the Buggane’s fur. I initially considered needle-felting, but the foam body would not hold the fibres securely enough when the puppet was handled.
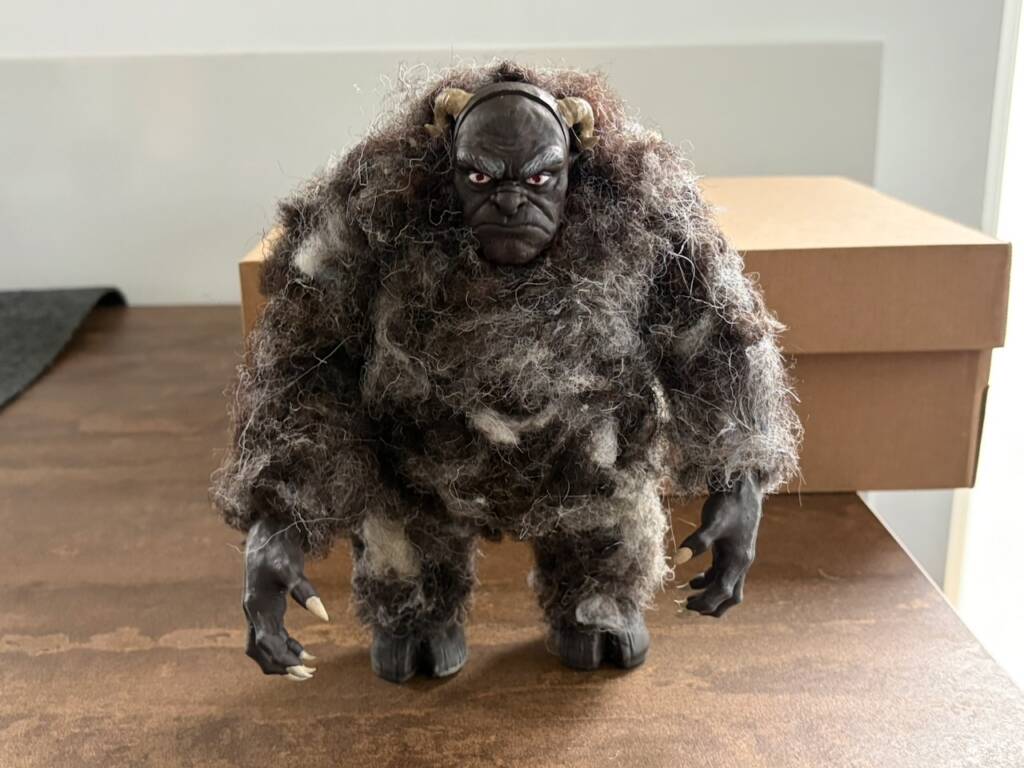
I therefore attached raw wool using hot glue. This created a much stronger bond and allowed me to build up the surface gradually, covering the foam, joints and edge of the printed head.
The method produced the thick texture I wanted, although the glue needed to be applied carefully to avoid restricting the armature. Because no motion tests were completed, the puppet’s flexibility under sustained animation remains untested.
Once I’d done the entire body, I carefully went round with a pair of scissors to neaten up the coverage so that the fur layer was uniform which you can see at the end of the above video. This final step brought my Buggane model to a stage of completion.
This entire process of creating the Buggane took a little longer than I’d hoped, this was mostly due to time waiting for 3D models to be printed and cured. I had hoped to move onto the production of one of the monks this week as well, however I will move that into the following week and finish this one off here.