Monk Clothing
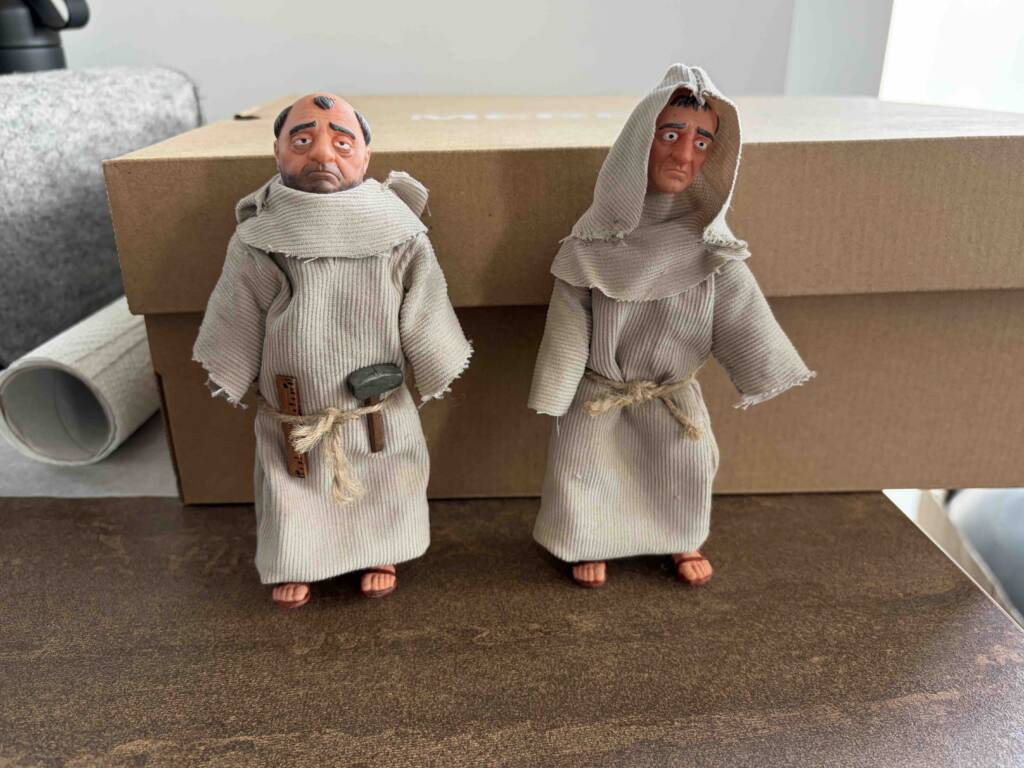
The next challenge was dressing the monks. With the three bodies constructed, I wanted to produce at least one simple robe that would communicate their character and establish the intended scale beside the Buggane.
This became one of the most difficult parts of the build because I had no previous experience of tailoring or making clothes. I owned a sewing machine, but it was left over from a short-lived COVID-19 hobby and I had never properly learned how to use it. Nevertheless, I was determined to clothe at least one of the puppets.
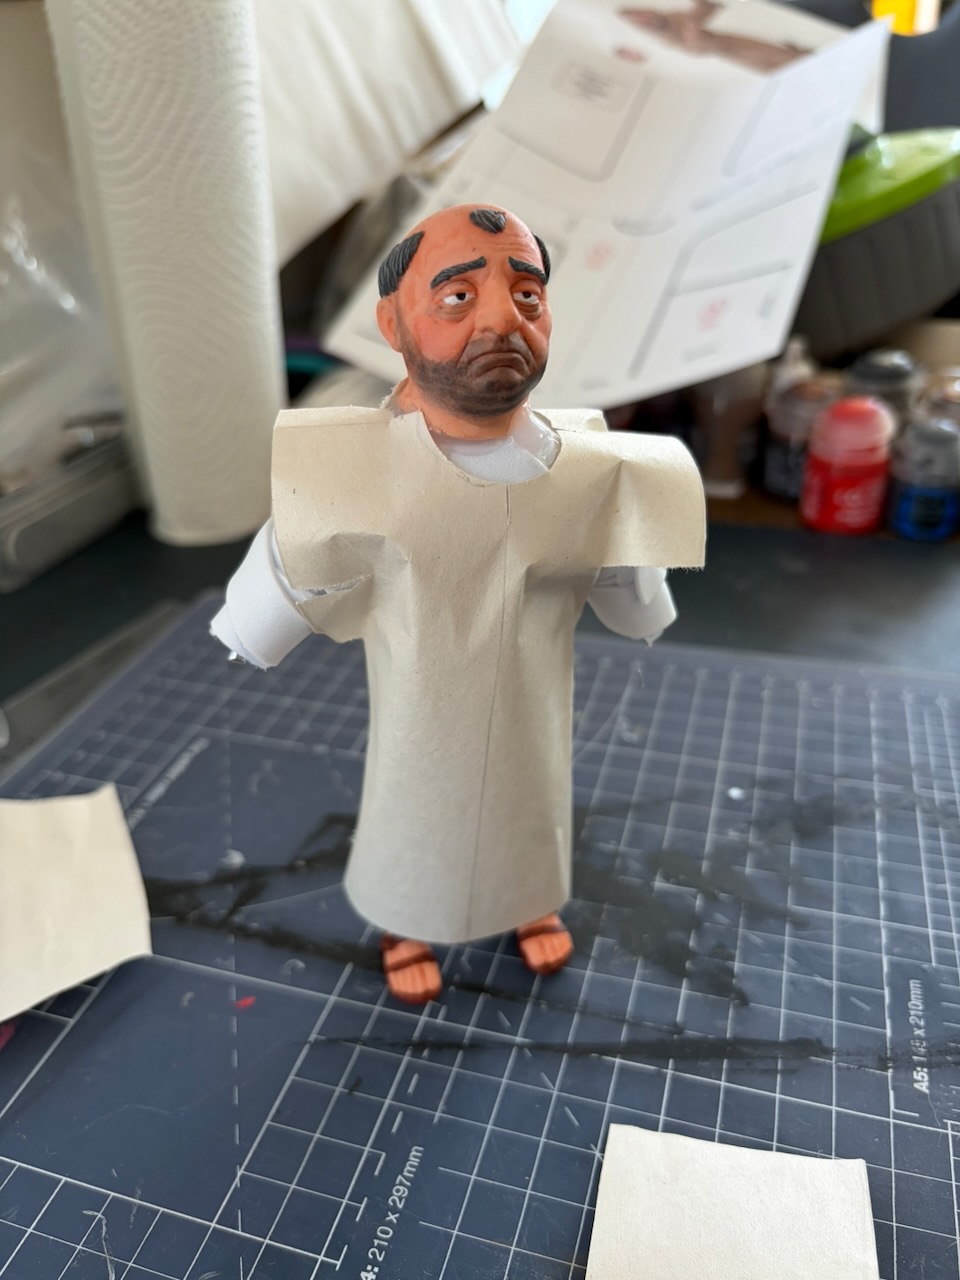
I wasn’t altogether sure where to start with the robe, therefore I attempted to make a robe out of paper first, so as not to waste any of the fabric I’d purchased for this part of the build. I managed to get a couple of the attempts to fit, however the shapes were very easy to get wrong and most of the attempts were held together with hot glue, therefore not suitable as a method for assembling the final fabric.
I decided I wanted to see if there were any patterns available online that I could take inspiration from, one such pattern I found was for a ‘Jesus or Priest costume’ sized to fit an average-sized Ken Doll.
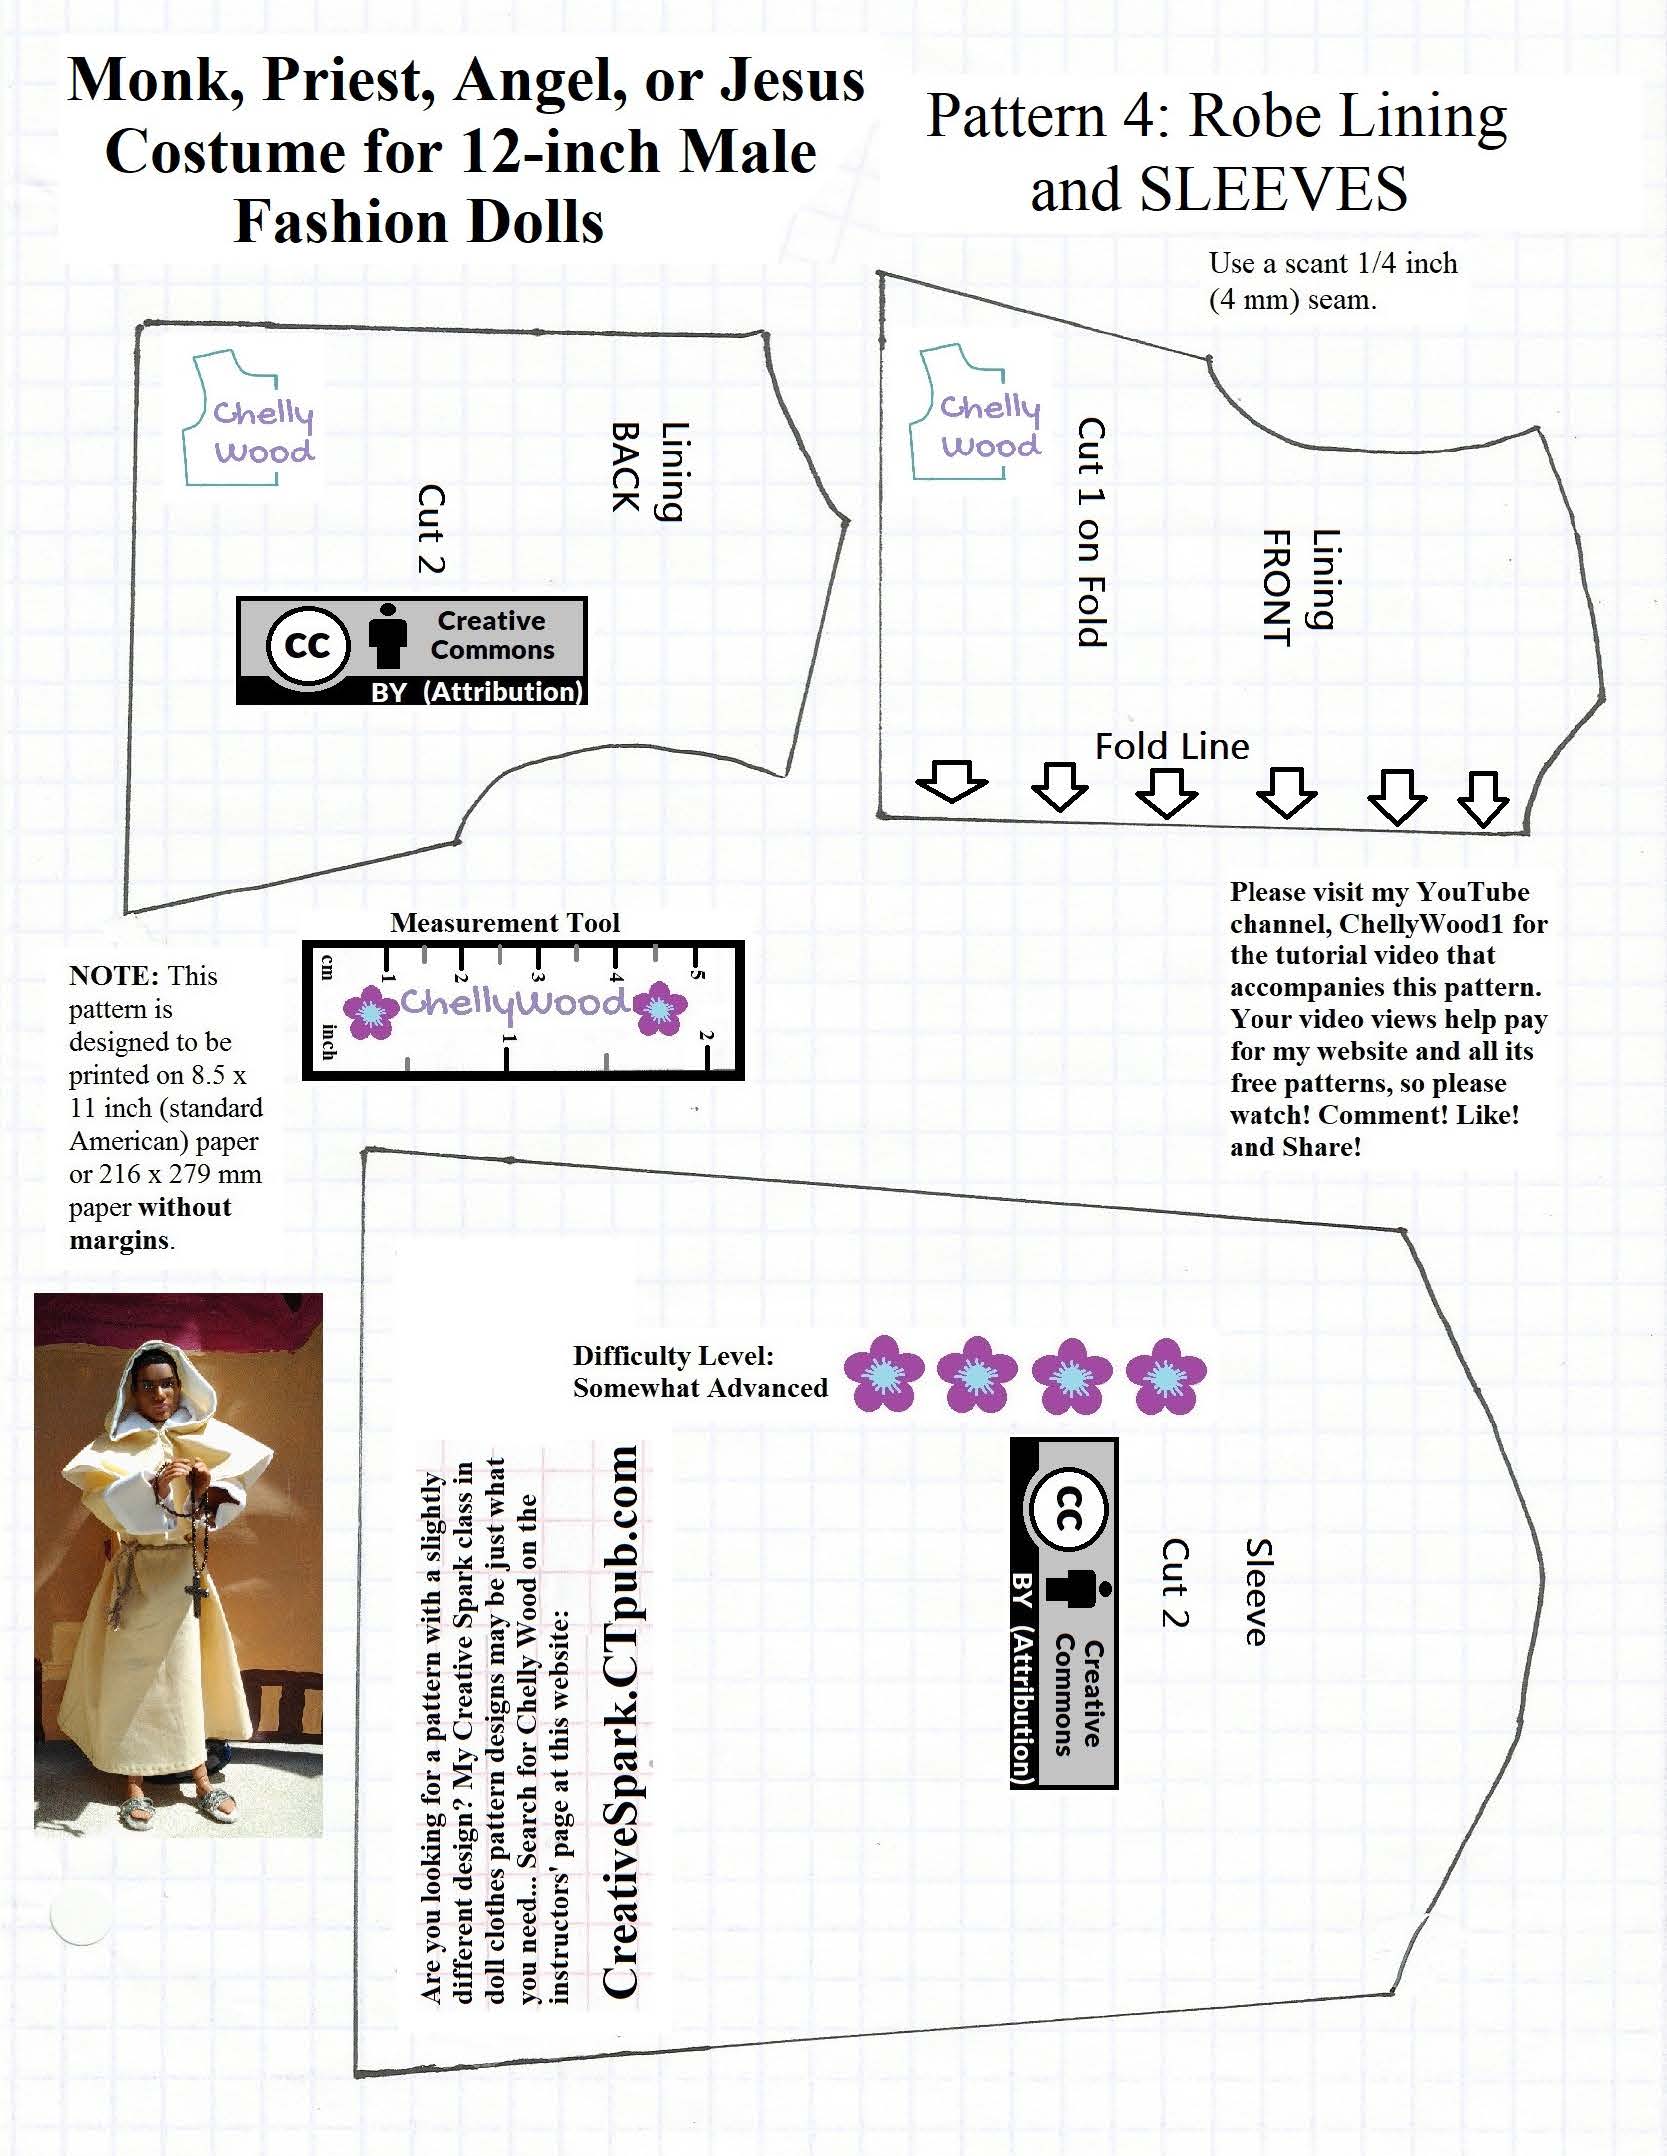
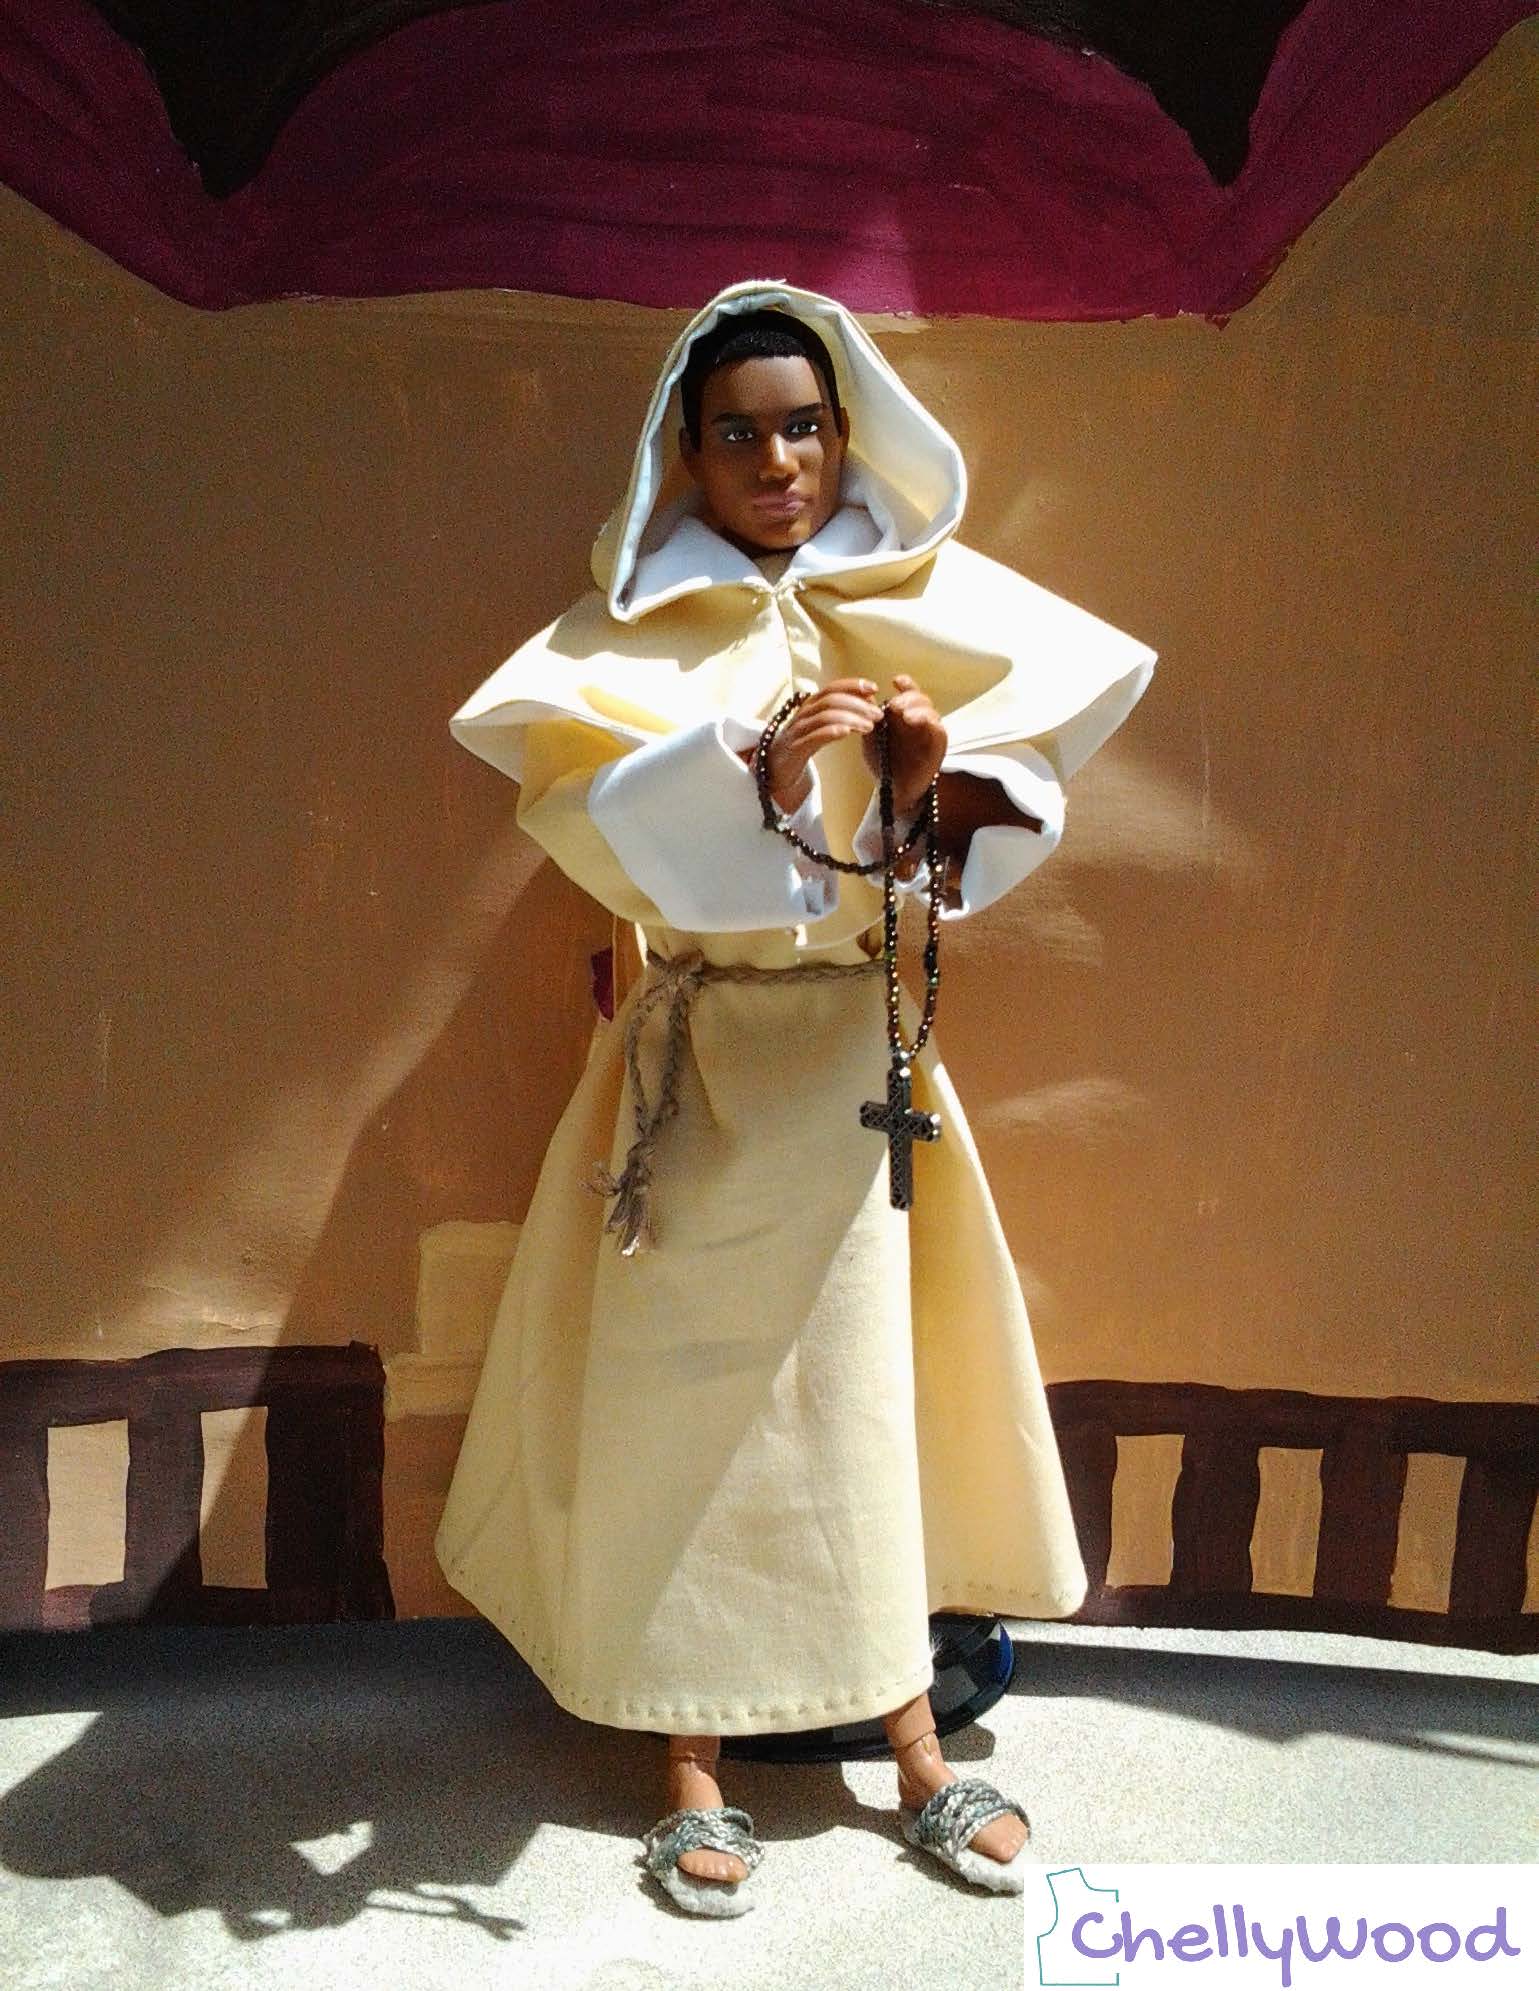
I downloaded the pattern and resized it to the height of the shortest of the monks, one that I’ve named the realist. Only because in the concept art, it looked like he was the only one doing any of the manual work. His paint job also showed him looking quite tired so I thought he would be a good one to start with as I could add some of the weathering and paint marks to his robe once it was finished.
With this pattern printed out, I again tried to cut the pattern out of paper and attach it together, however part way through this test build, I found that the robe looked a little modern, unfit for the stylised medieval monk clothing I was trying to achieve.
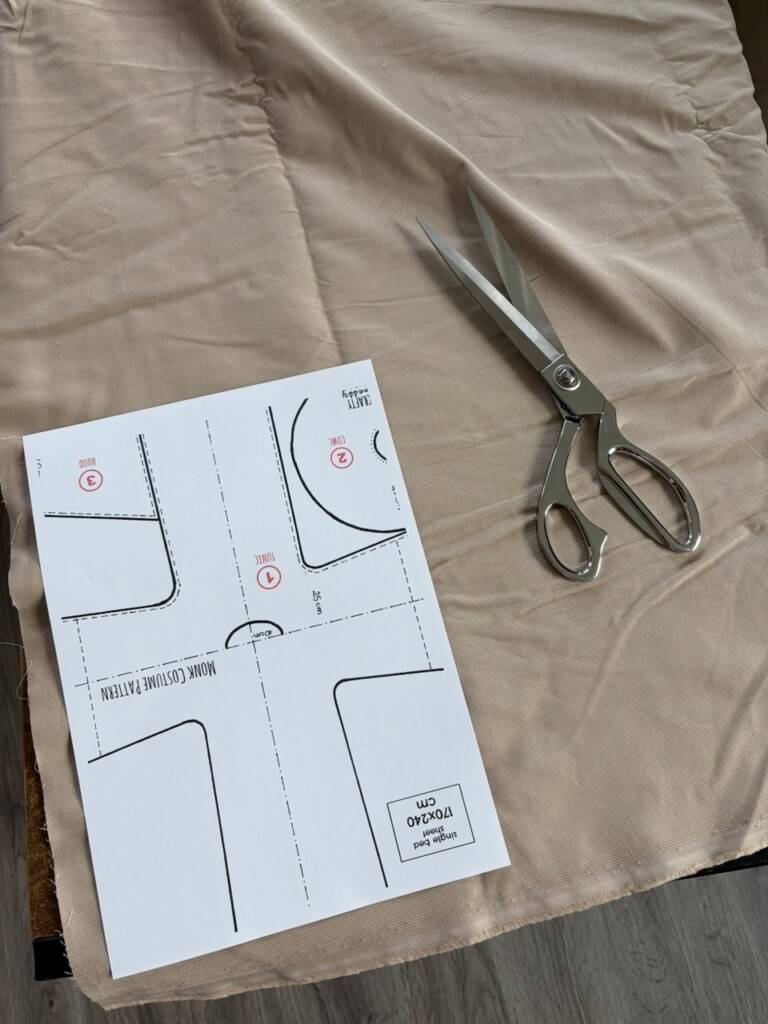
I then had another search around and found a pattern suitable for an adult, it seemed simple and the photo of the end result was the style I was looking for. I downloaded the pattern and resized it to fit my model.
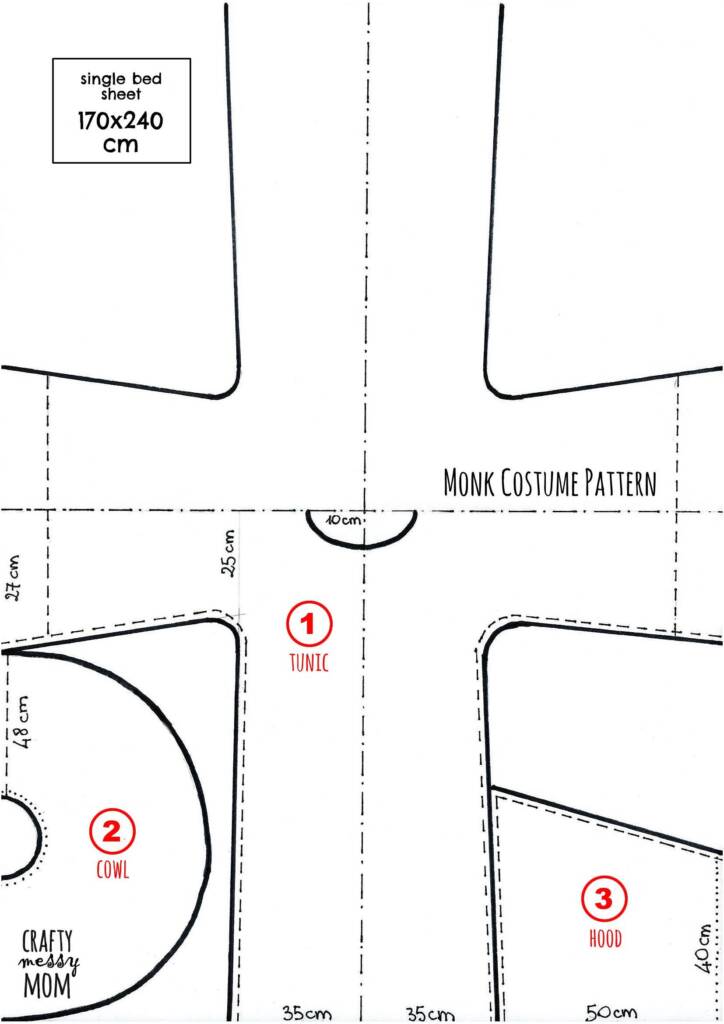
I then needed to choose the fabric I would use for the robe, I first tried with a hessian style fabric I’d ordered, this most closely resembled the concept art and the fabric originally on my moodboard for the monks. Cutting out the pattern was quite difficult, the loose nature of the fabric meant that it frayed very easily, however I was able to finish cutting the parts to size.
I then took the pieces over to the sewing machine, doing a few bits of testing on a scrap piece of fabric first, mainly to try and learn the differences between all the different stitches and how to set the machine up properly.
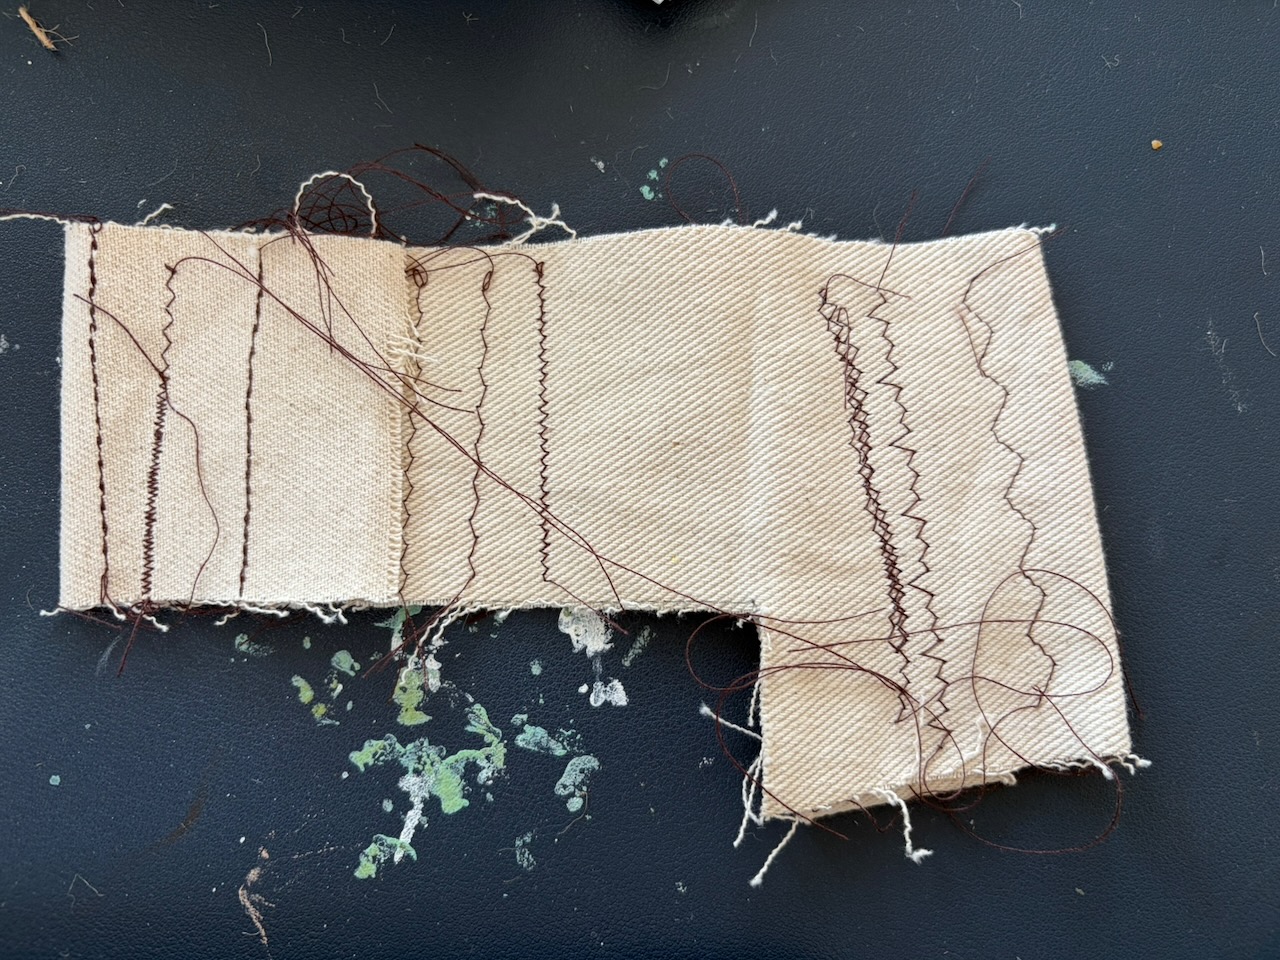
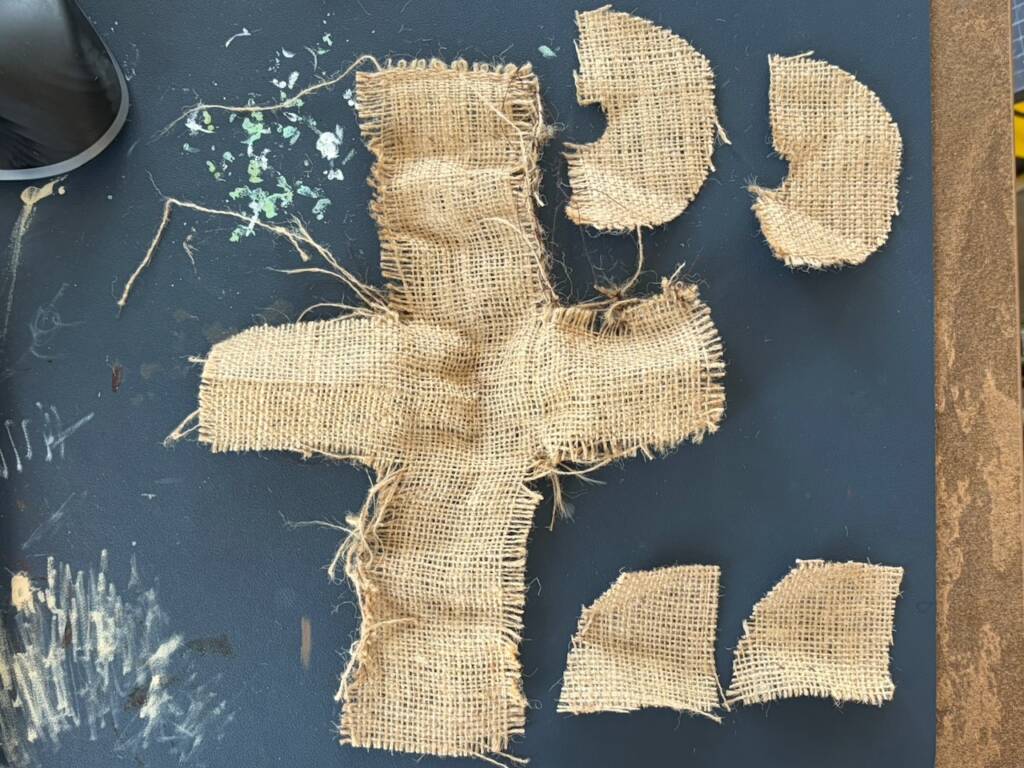
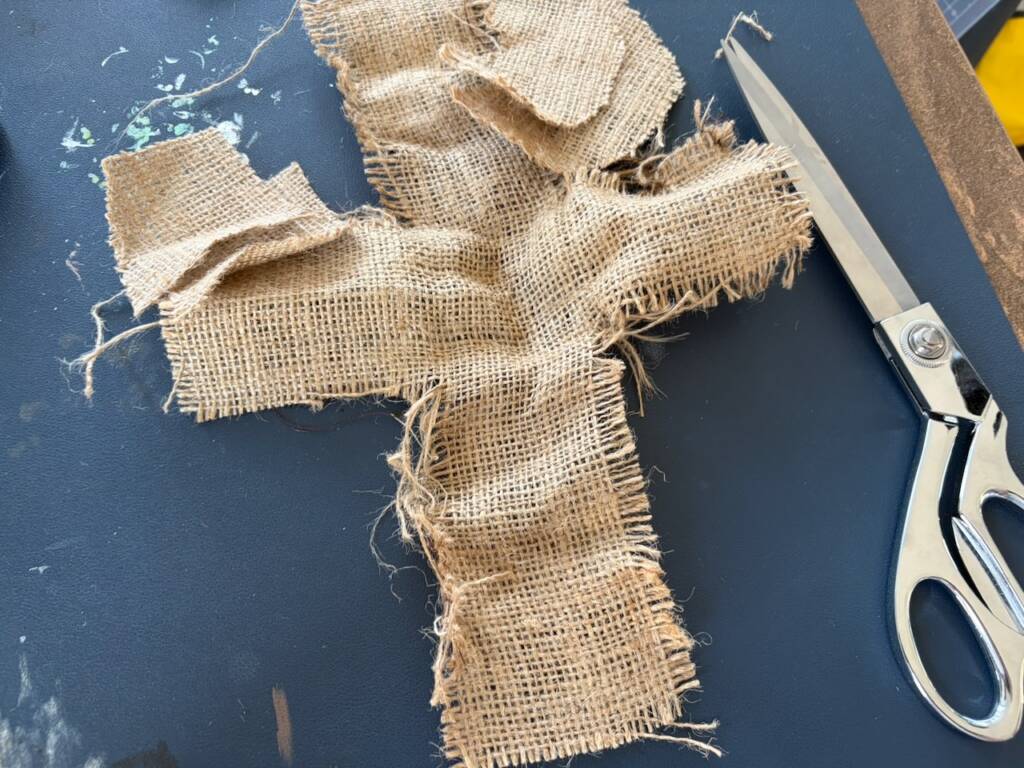
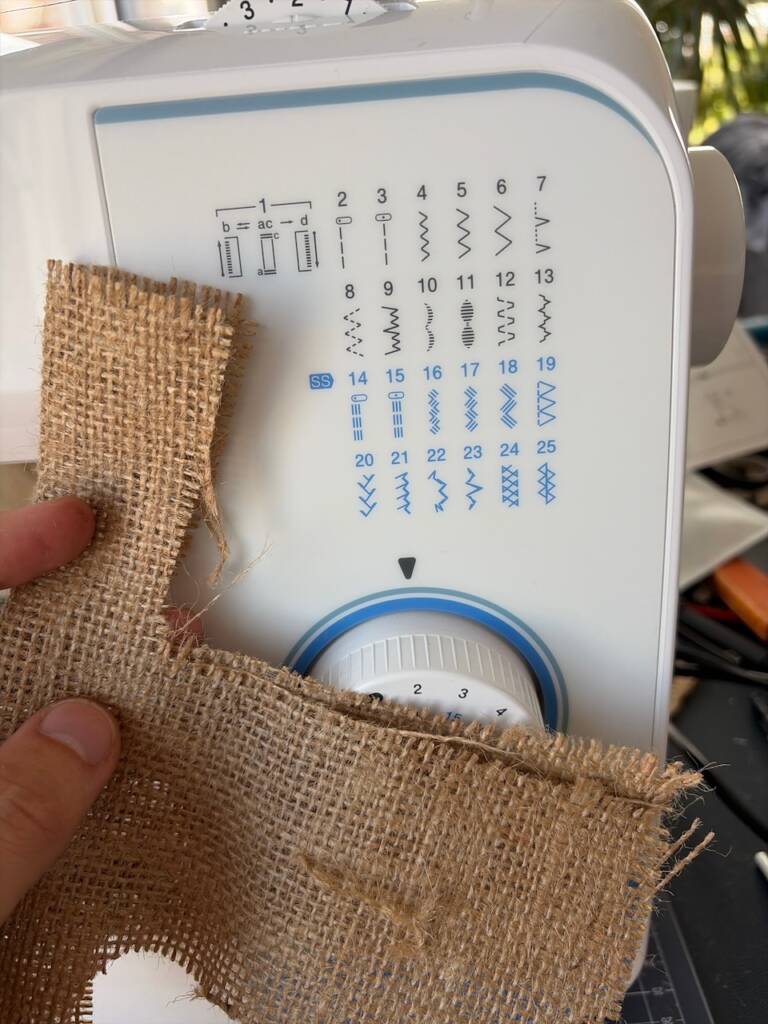
At first, I thought it may have been working, however again due to the loose nature of the weave, the pieces didn’t join together well at all, the needle often got trapped in a loose thread and jammed multiple times during this attempt. Even though I managed to get the seams done on the main body of the robe, I couldn’t then turn it right-side out so that the seams were hidden. I decided that this fabric wouldn’t work for this build.
moved on to another fabric with a much tighter weave and a small amount of stretch. This meant that it could be pulled over the armature more easily and was much less likely to fray while being sewn.
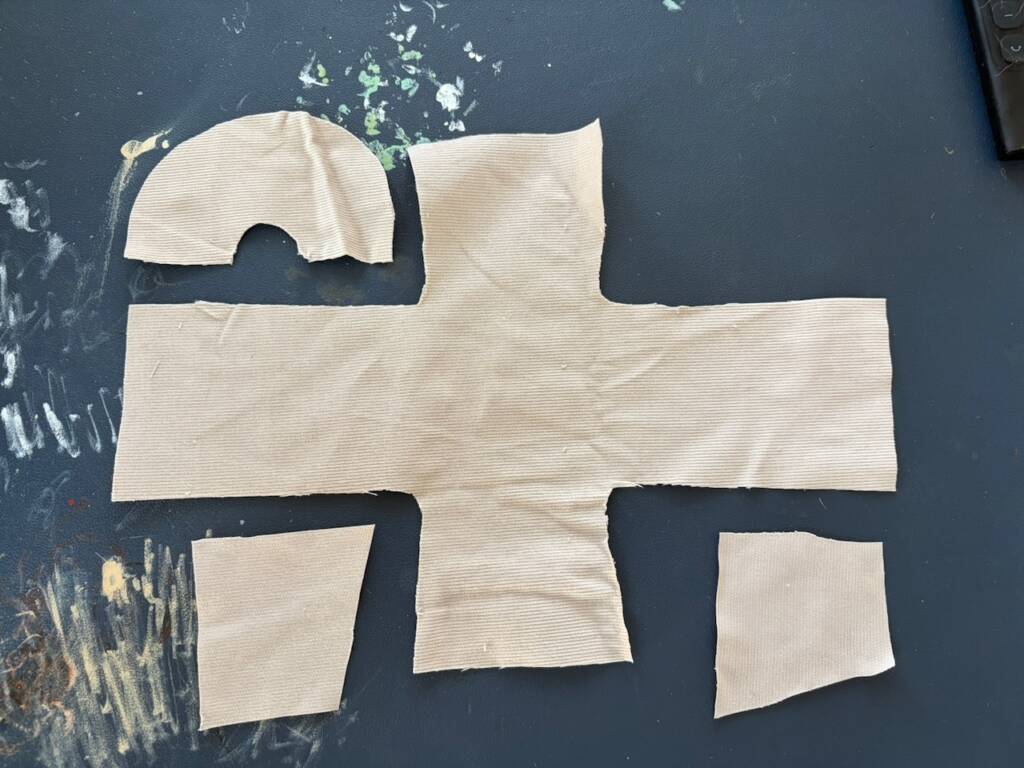
I cut out the pattern pieces and stitched the main seams using the sewing machine. After turning the garment right-side out, I tested it on the shortest monk, who I had named “The Realist.”
The robe was slightly longer than intended, so I tried it on the taller “Nervous Wreck” puppet instead. Once I was happy with the fit, I added toy stuffing to give the body a more natural shape and tied twine around the waist. This immediately helped the fabric fall in a more convincing way.
I shortened the sleeves, hemmed the bottom of the robe and machine-sewed the separate hood. I then attached the hood and cowl to the main garment using hand stitching. You can see the complete process in the video below.
I eventually completed robes for two monks: “The Realist” and “The Nervous Wreck.” I made the second costume because I wanted to see whether I could improve on my first attempt after becoming more familiar with the sewing machine.
The costumes communicate the intended difference in scale between the monks and the much larger Buggane, although the sewing and fit could be improved further. If the project moved into full production, I would seek advice from someone with experience in creating costumes for miniature puppets.
The third monk body remained unclothed, and I did not complete the monks’ hands. I originally delayed making the hands until I knew which poses and accessories would be needed for the motion tests. Once the project scope changed and the motion tests were removed, there was not enough time to develop them.
For the final photography, the sleeves can be arranged to suggest that the monks’ hands are hidden inside their robes. A full production version would require a set of interchangeable hands designed around specific actions.
Note: Some of the photographs show accessories made for “The Realist” monk. These are documented in a later post because I produced them alongside the other miniature prop components.